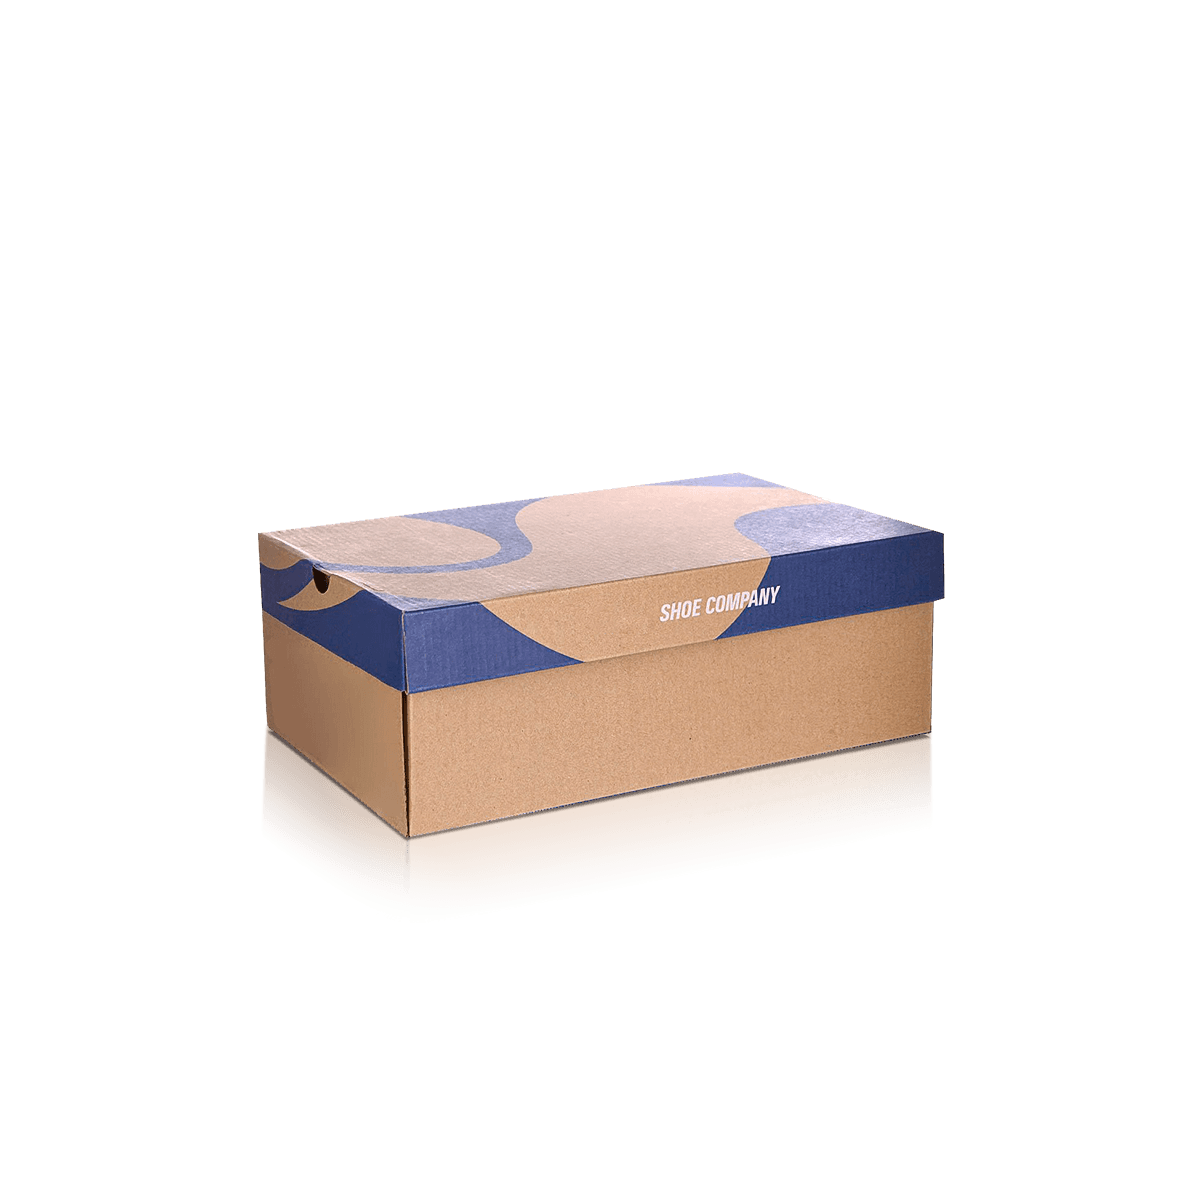
Shoe Packaging Sized Around the Pair, Sole and Heel
Custom Shoe Boxes should fit closely enough to limit movement without pressing the upper, heel or toe. Set the internal size from the pair as it will be presented, including tissue, toe stuffing, laces, tags and any dust bag.
A sneaker may need more width for a broad outsole. A high heel needs added height and clear space around the heel tip. Boots can require a deeper box or a different position. Flats and sandals may use a shallower structure, though straps and buckles still need room.
Custom Packly supports footwear labels, boutiques, sports stores and online retailers with boxes for shelf display, stockroom use, gifting and delivery. The same print system can continue across footwear boxes, clothing cartons and bags through Custom Retail and Apparel Packaging.
Measure the complete pair
Measure the longest outsole, the widest point and the full height after placing the shoes together. Add tissue, stuffing and dust bags before recording the dimensions.
Do not rely on the shoe size alone. Two pairs marked with the same size can differ because of the last, sole thickness, toe shape and heel. A chunky trainer may need more width than a slim leather shoe.
Leave space where pressure causes damage
The lid should not touch a structured upper, buckle or raised heel. Side walls should not press against suede, polished leather or decorative trims.
Custom Shoe Boxes need enough room for easy filling, but excess space lets the pair slide and rub. A small amount of planned clearance works better than one oversized box used for every footwear type.
Fix the pair position before sizing
Decide whether the shoes will sit side by side, toe to heel or with one shoe turned. Use the same position during every fit check.