Skip to content
Details

Custom Apparel Sleeves

Wrap folded shirts, knitwear and clothing sets with a printed paperboard band that holds the fold, shows the fabric and keeps key product details clear.

Free Design Support

Clear Pricing

Flexible Quantities

Unlimited Customization

Premium Materials

Offset Precision

Free Shipping

Quick Turnaround

Custom Apparel Sleeves for Folded Clothing and Retail Display

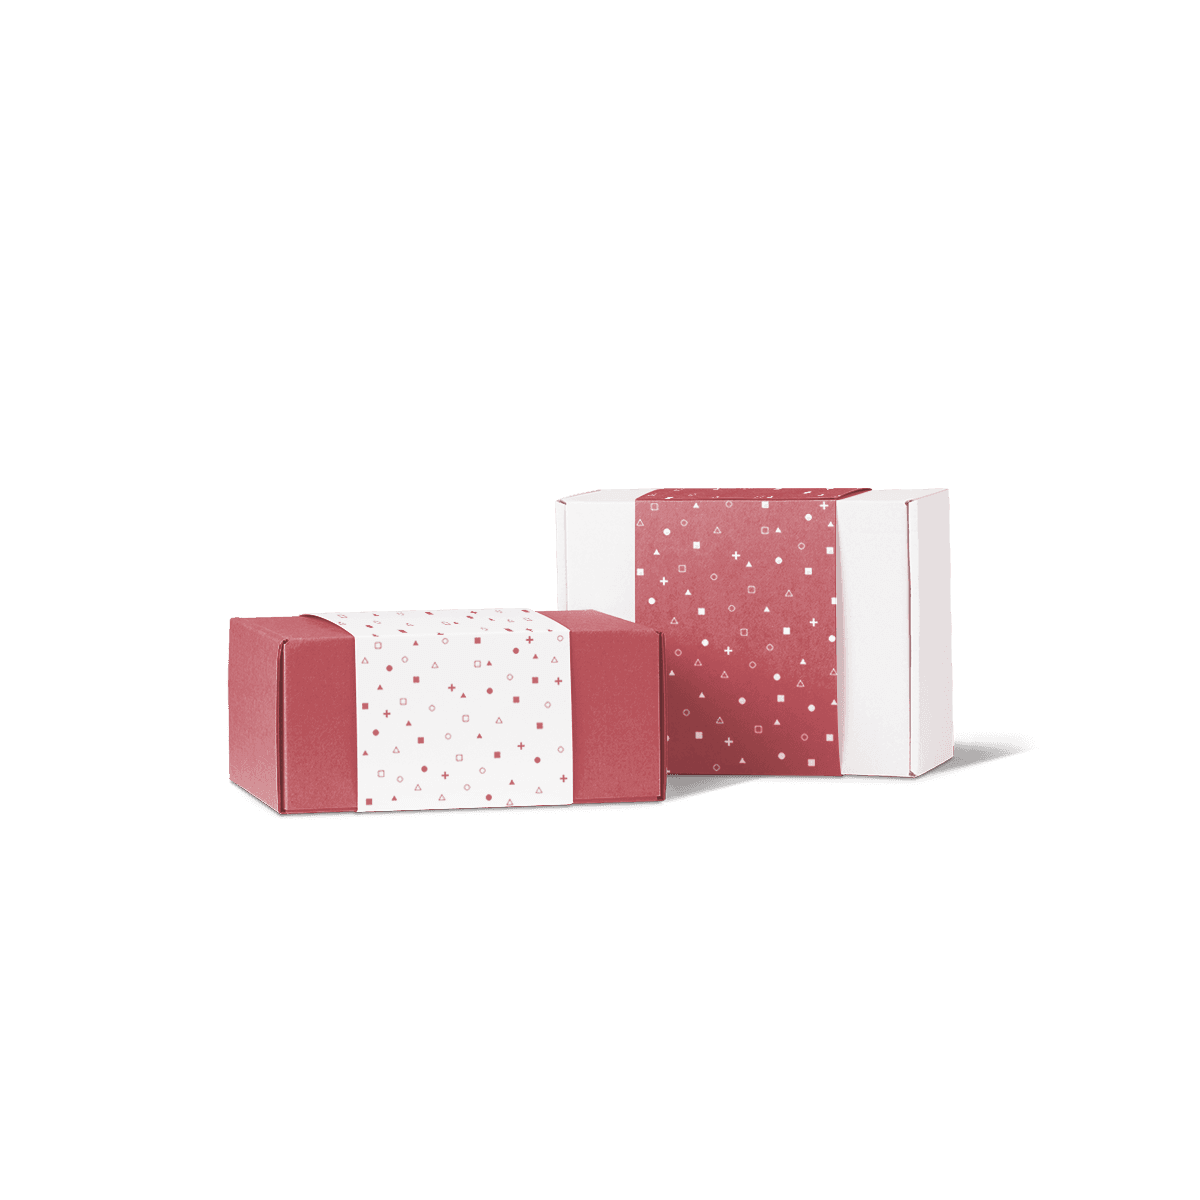
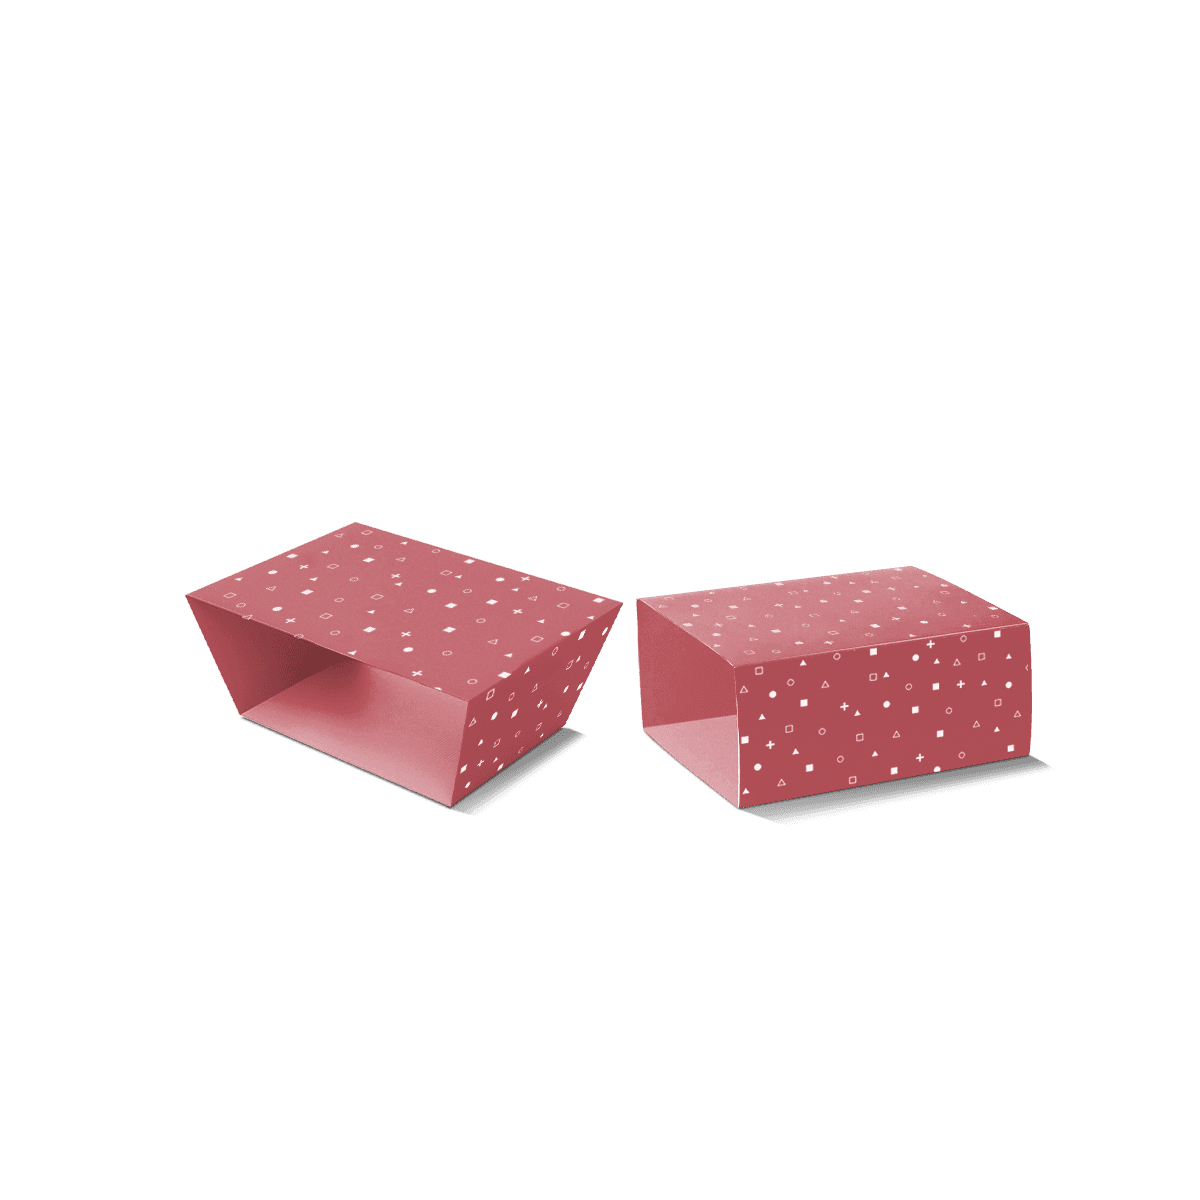
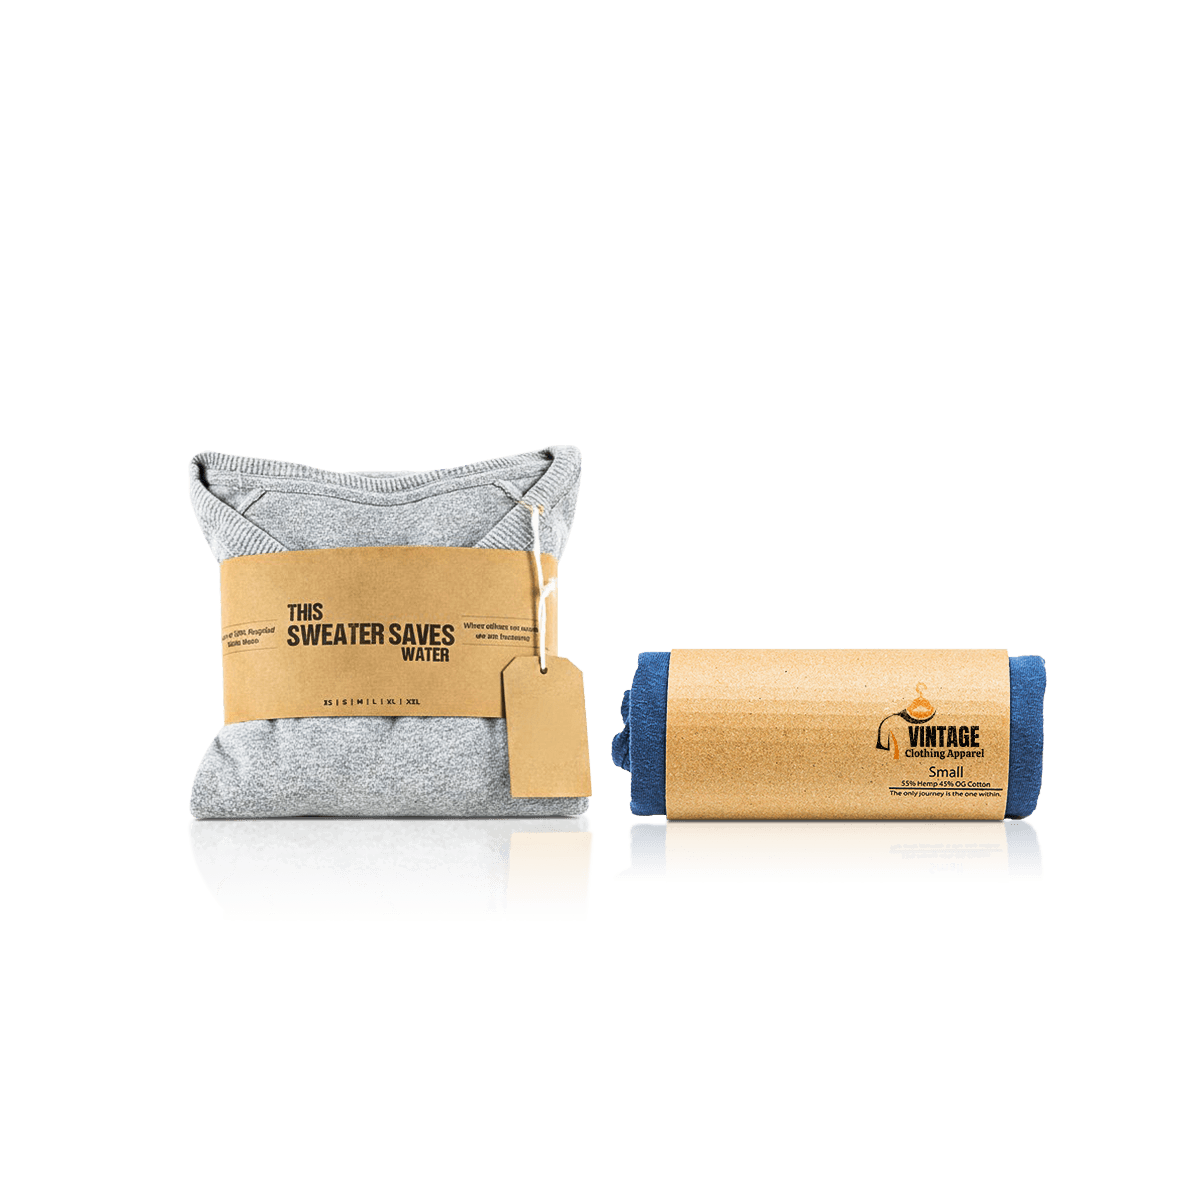
Custom Apparel Sleeves turn a folded garment into a clear retail item without hiding it inside a full box. The paperboard wrap holds the centre of the fold. It also carries the logo, size and care details while leaving the fabric visible.

They suit T-shirts, polos, shirts, knitwear, sleepwear, scarves and light clothing sets. Well-fitted Custom Apparel Sleeves can replace a loose paper band or plain label when a brand needs more print space and better control around the garment.

Custom Apparel Sleeves sit within our wider Custom Retail and Apparel Packaging work. Their job is simple. They keep the fold together, show useful details and add brand value without the depth of a box.
Hold the Fold Without Hiding the Fabric

The main value of Custom Apparel Sleeves is partial cover. Customers can still see or touch much of the garment. The wrap gives each folded item a set front face.

Choose how much cloth stays visible

A narrow band shows more colour and texture. It suits garments where the fabric drives the buying choice. A wider sleeve gives more room for print, size details and care text. It can also hold a soft fold with more control.

A slim band may suit a flat cotton tee. Thick knitwear often needs a wider section so the board does not tilt or slide.

Keep the open edges neat

Custom Apparel Sleeves usually leave the top and bottom open. Align the garment edges before fitting the sleeve. This stops fabric from sitting out at one side.

Include tissue, a backing card or an inner bag during fit checks. Each layer changes the wrap length and the way the finished item sits.

Move the join away from the front

Place the glued or locked seam on the back. It should stay flat and must not rub delicate fabric.

The join can also affect print. Keep it away from barcodes, care text and the main logo. Plan the closure before the artwork is approved.

Fit the Sleeve to the Final Garment Fold

Custom Apparel Sleeves should follow the finished fold, not the size on the clothing label. A small thick jumper may need more wrap length than a larger fine-knit top.

Give T-shirts and polos a flat face

Fold side seams and sleeves inward to form a firm shape. Keep a chest print or collar visible when it helps the display.

Polos need extra care. The collar and button placket add height at the top. A sleeve made for a plain tee may pull too tight across that area.

Allow knitwear to keep its loft

Sweatshirts, cardigans and knitted tops rise after pressure is removed. Let the garment rest in its final fold before measuring it.

Custom Apparel Sleeves for soft knits should hold the item without crushing the surface or bending the board. A wider band and firmer stock often work better around a bulky fold.

Fix the order inside clothing sets

Sleepwear and matching separates may contain two or three pieces. Decide which item sits on top and where each label faces. Use the same fold at every filling table.

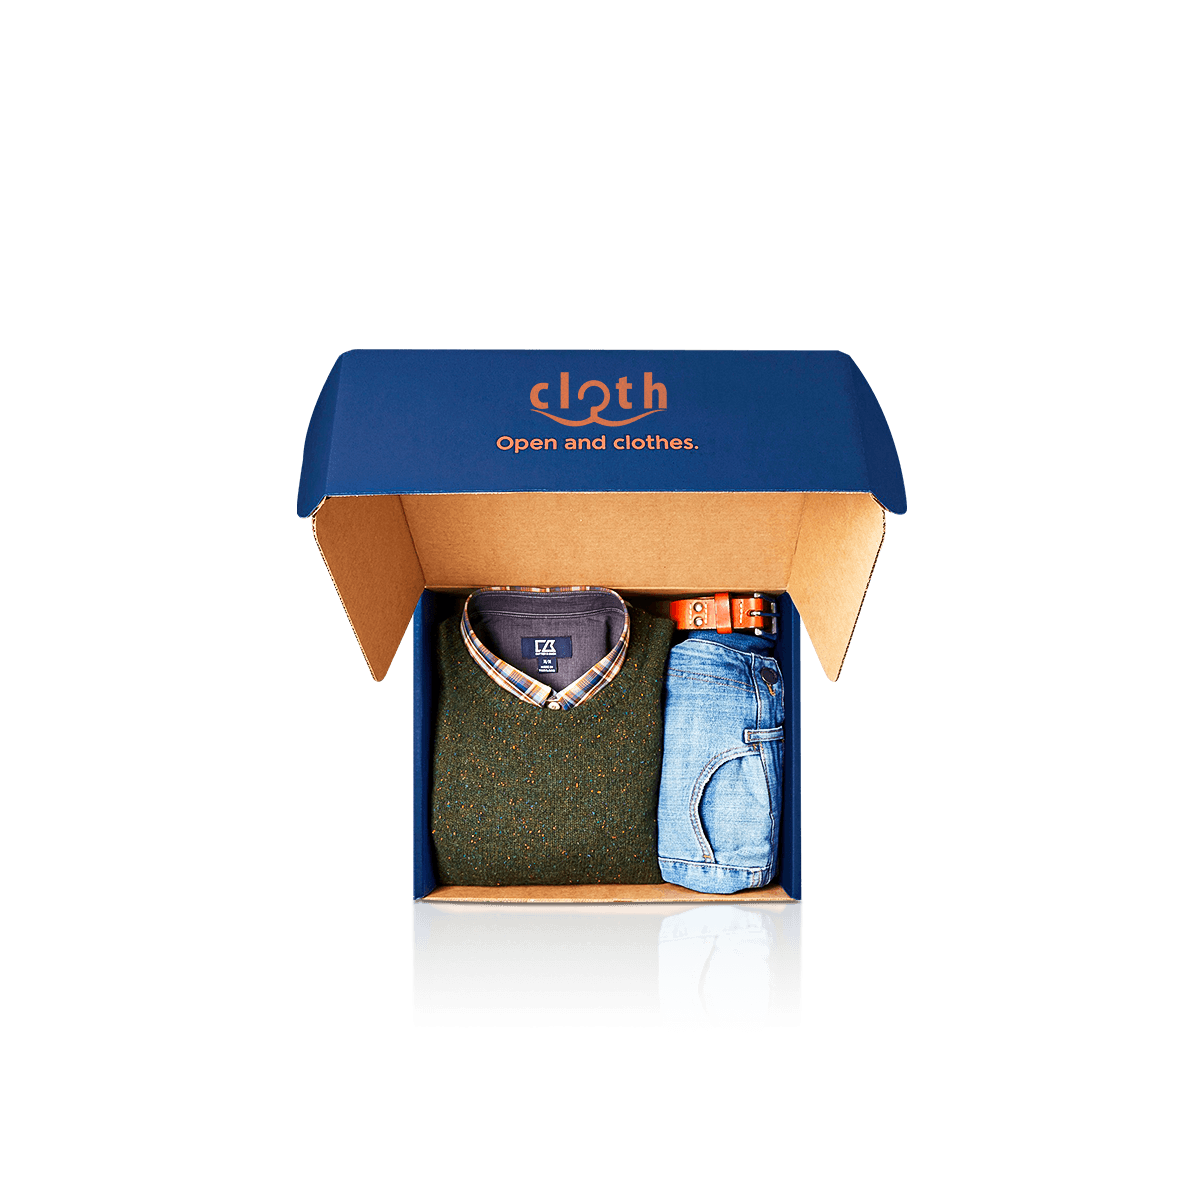
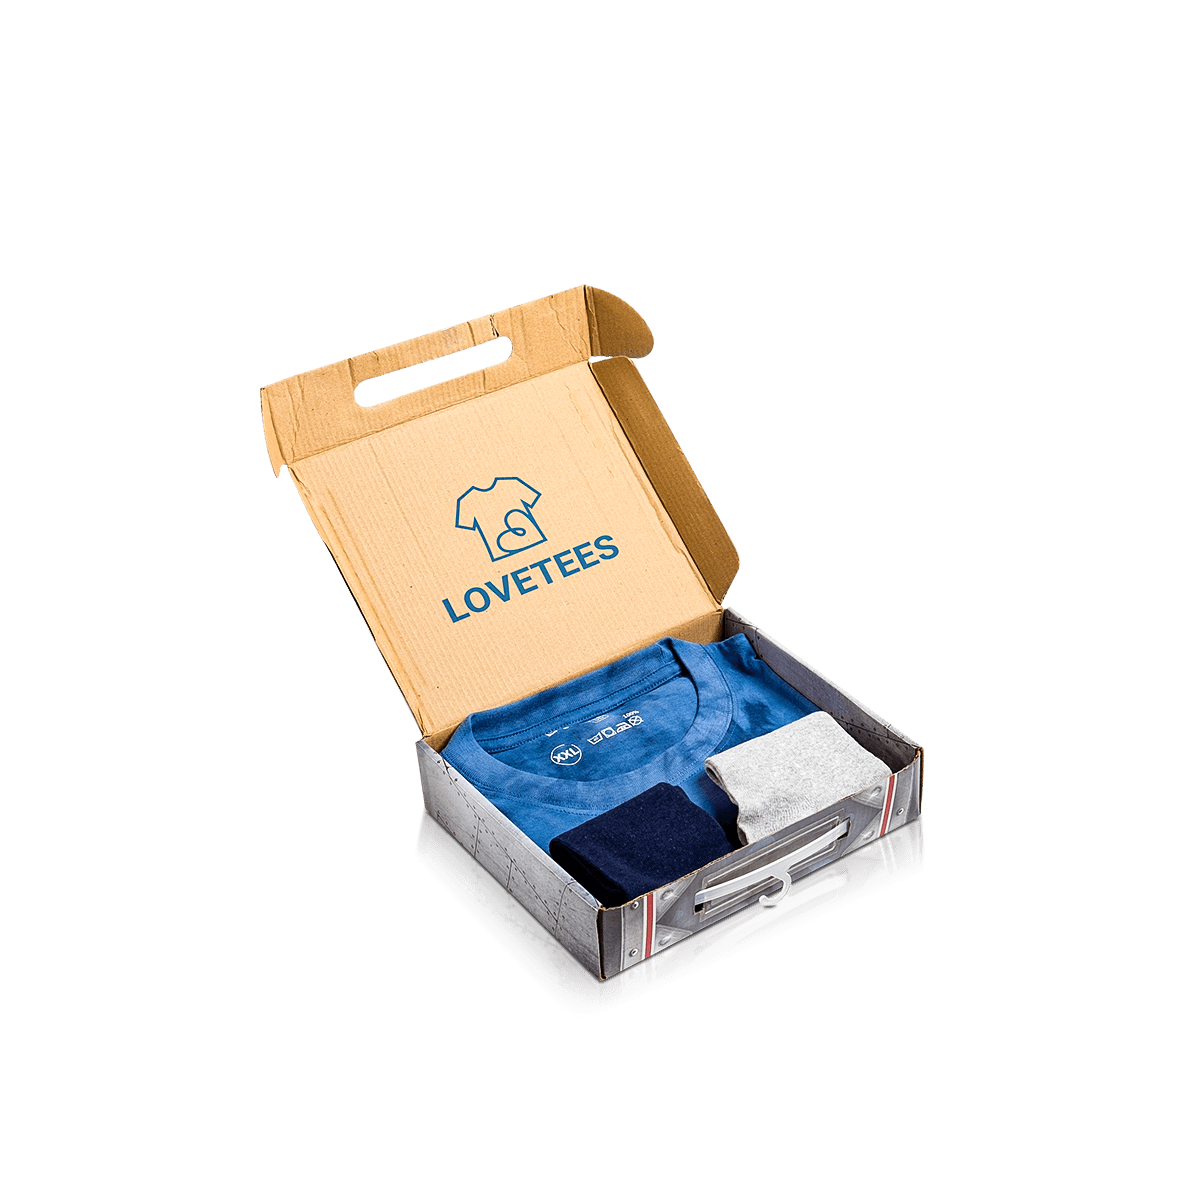
A backing card can support a light set. Custom Apparel Boxes are better when the clothes need full cover, stronger edges or a gift-style opening.

Make Size, Colour and Care Details Easy to Read

Custom Apparel Sleeves give brands more room than a small swing tag. The panel layout should help staff and customers identify each garment without opening the fold.

Keep the front panel simple

Use the front for the logo, product name or one short line. Do not force every detail onto it.

The fabric already adds colour and texture. Clear print lets the garment and sleeve work together.

Use the back for variable details

The back can hold size, shade, fibre content, care steps, barcode and origin text. Add a clear label area when one printed sleeve serves many sizes or colours.

Shared Custom Apparel Sleeves can reduce the number of printed versions needed for one clothing line. Labels can carry the facts that change.

Keep barcodes flat

Place the barcode away from the overlap, seam and fold lines. The board under it should stay flat after the sleeve closes.

Use the same barcode position on each sleeve size. This makes scanning easier when items are stacked.

Choose Board That Wraps Without Buckling

The stock must bend around the garment without cracking or springing open. Custom Apparel Sleeves need some flex, but they must also stay aligned.

Use white board for crisp print

Coated white paperboard suits bright colours, small type and detailed logos. It gives a clean base when the sleeve must match tags, boxes or store signs.

The stock should score cleanly. A heavy board is not always better. It may feel too stiff around one light T-shirt.

Use kraft for a natural look

Kraft paperboard suits organic cotton, workwear, outdoor clothing and simple print. Its brown base changes colour results, so pale tones and photos need care.

One-colour artwork can look strong on kraft. It also lets the fabric stay as the main visual feature.

Use firmer stock for wide wraps

Wide Custom Apparel Sleeves around hoodies or knitwear need more resistance to bowing. Match the board to the garment weight, sleeve width and stack height.

Paper-based recyclable choices are available where they suit the print and finish. Review coatings, foil and lamination with the board before making disposal claims.

Print to Work With the Visible Garment

Printed Custom Apparel Sleeves should respond to the fabric beside them. The sleeve and clothing need to look like one planned retail item.

Check contrast against every colour

A dark sleeve can disappear against black clothing. A pale sleeve may lose impact on white basics. Review the artwork beside all garment colours that will use it.

When many shades share one design, use a strong border, neutral base or clear reverse panel. This keeps text easy to read.

Keep the logo on a flat area

The centre front is often the safest place for the main mark. A small logo near a fold may bend or look off-centre.

Premium offset printing supports fine text, steady colour and detailed artwork. The same brand system can also carry into Custom Sleeve and Band Packaging used around accessories or other retail items.

Keep finishes away from creases

Matte or soft-touch finishes can create a calm feel. Foil, embossing and spot UV can lift a small logo or product name.

Do not place raised or reflective details across a fold. The finish may crack or flatten when the sleeve is wrapped. Board, print and finish choices can be planned through Customisation.

Set the Wrap Length From a Finished Sample

Accurate fit is the key technical step for Custom Apparel Sleeves. Measure around the full folded garment. Include tissue, cards, tags or inner covers that will stay inside the wrap.

Measure without forcing the fabric flat

Let the garment rest in its final fold. Measure the front face, depth and full path around the stack.

Do not pull the tape tight around knitwear. A sleeve made from a pressed measurement may bow once the fabric rises again.

Allow a clean overlap

The back join needs enough overlap for glue or a lock. Too much overlap creates a thick ridge. Too little can make the join lift.

A Custom Belly Band Packaging structure may suit a narrow wrap, while a full-width sleeve gives more hold and print space.

Check the dieline before print

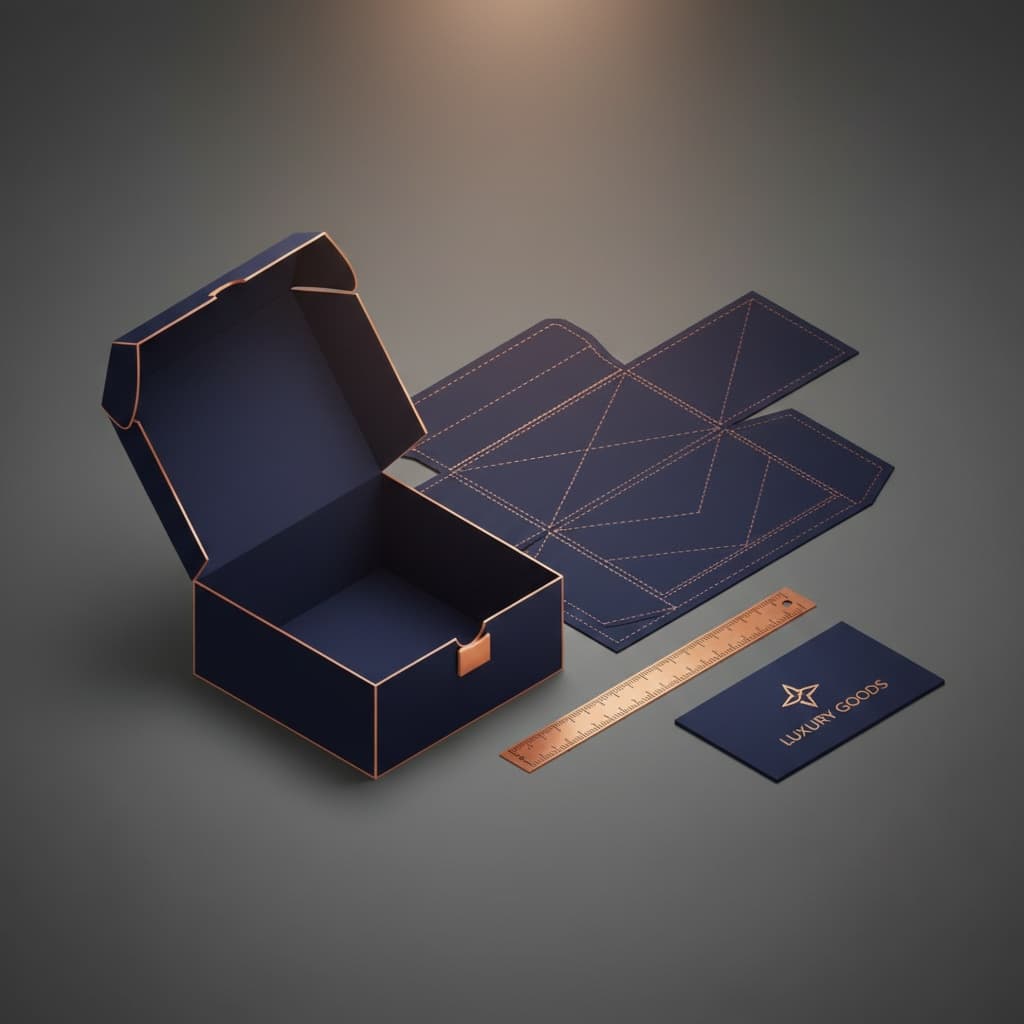
The Dieline Tool can help map custom size, panels and artwork. Keep the logo, barcode and care text inside safe print areas.

A 3D mockup is useful for print placement. A physical sample adds value when thick knitwear or an unusual fold makes sleeve tension hard to judge.

Use Sleeves in Stores, Online Orders and Gifting

Custom Apparel Sleeves can support several types of order. They do not replace every other layer of clothing packaging.

Create a cleaner store stack

Custom Apparel Sleeves help folded garments stay neat on a shelf or display table. The printed front gives each item a clear facing panel even when the fabric colour changes.

Use a wide enough sleeve for open shelves and display tables. It should stay in place when customers lift the garment.

Add outer protection for delivery

Custom Apparel Sleeves control presentation, not parcel impact. Use a suitable mailer or shipping carton around them for online orders.

Add a close dust or moisture barrier when the fulfilment method calls for one. Include that layer when the sleeve is measured.

Carry the look through checkout

The sleeve creates a branded retail item. Custom Boutique Shopping Bags can carry the same colour, type or logo style at the counter.

The two pieces do not need the same artwork. A shared visual detail is often enough to link them.

Use Shared Sleeves Across Sizes and Seasonal Colours

Clothing lines often change by size, shade and season. Custom Apparel Sleeves can reduce excess print when fixed and changing details are separated.

Print the details that stay

Keep the logo, core message and standard text in the main artwork. Add size, colour, barcode and product name through a planned label zone.

This lets one sleeve serve several shades or a short release. It also reduces unused printed stock when one colour finishes early.

Add a second size when the fold changes

One sleeve may suit several T-shirt sizes because the folded face stays close. It is less likely to suit both a fine tee and a thick jumper.

Use another wrap length when the large item makes the board bow. Two close-fitting Custom Apparel Sleeves look better than one loose sleeve used for every garment.

Order around the real clothing mix

MOQ starts from 50, with support for larger runs and high-volume clothing orders. Quantities should follow the expected mix of garments.

Core basics may need more sleeves than a short printed release. Shared Custom Apparel Sleeves can support smaller runs while labels keep each size clear.

Send Fold, Print and Quantity Details for Pricing

A useful quote for Custom Apparel Sleeves needs the garment in its final retail state. Custom Apparel Sleeves should be priced from the finished fold because flat clothing dimensions are not enough.

Send:

  • Garment type and fabric
  • Final folded width, height and depth
  • Thickest item using the sleeve
  • Desired sleeve width
  • Number of garments held together
  • Board choice or preferred look
  • Print colours and finish ideas
  • Closure method
  • Size, care and barcode placement
  • Quantity by artwork or sleeve size
  • Artwork status and required date

A photo of the finished fold can make the brief much clearer. Use Get a Quote to send these details and get help with board, overlap and print layout.

FAQs

No. They wrap around the middle of a folded garment and usually leave both ends visible.

Yes, when the folded depth and wrap length stay close. Test the thickest garment before approval.

A close fit, suitable width and stable fold help. Tissue or a backing card can add more hold.

Yes. Place them on a flat panel away from the overlap, seam and fold lines.

Use a box for full cover, stronger edge care, bulky sets or a gift-style opening.

Process

How it works

Simple steps from idea to delivery

01

Tell Us Your Specs

Custom packaging boxes

Tell Us Your Specs

Provide size, quantity, printing, and finishes.

02

Get a Fast Quote

Custom packaging boxes

Get a Fast Quote

Instant transparent pricing, no hidden fees.

03

Design and Approval

Custom packaging boxes

Design and Approval

Artwork checks, revisions, and final sign-off.

04

Produce

Custom packaging boxes

Produce

Expert manufacturing to meet deadlines.

05

Ship to Your Door

Custom packaging boxes

Ship to Your Door

Hassle-free, flexible delivery options.

Start Your Custom Packaging Quote

Share your product details, dimensions, quantity and artwork needs. We’ll help choose the right packaging style and send a clear quote.