Skip to content
Details

Custom Retail Boxes

Turn shelf space into a clear product story with boxes planned for product visibility, stock labels, secure fit and consistent presentation across each variant.

Free Design Support

Clear Pricing

Flexible Quantities

Unlimited Customization

Premium Materials

Offset Precision

Free Shipping

Quick Turnaround

Printed Retail Packaging That Works on the Shelf

Custom Retail Boxes need to protect the item and explain it fast. They should also fit the shelf without wasting space. A good box makes the product easy to find, read and handle. Well-planned Custom Retail Boxes also make stock checks easier.

Start with the way the item will be sold. An upright carton needs a steady base. A hanging box needs a strong top panel. A small counter item needs details that remain clear from above.

Custom Retail Boxes should be planned from the real viewing angle. Flat artwork alone cannot show how a box will sit in store. The product, shelf depth and nearby items all affect the result.

Custom Packly helps brands turn those needs into clear retail packaging. The wider Custom Retail and Apparel Packaging collection can carry the same look across boxes, apparel cartons, sleeves and bags.

Start with the customer’s view

Place the filled box at the expected shelf height. Check which panels the customer can see first. The brand, product name and key difference should remain clear.

Use shelf space with care

Oversized Custom Retail Boxes can waste room and look out of scale. A close fit gives the product more control. It can also help stores place more units on one shelf.
Let the Display Position Set the Box

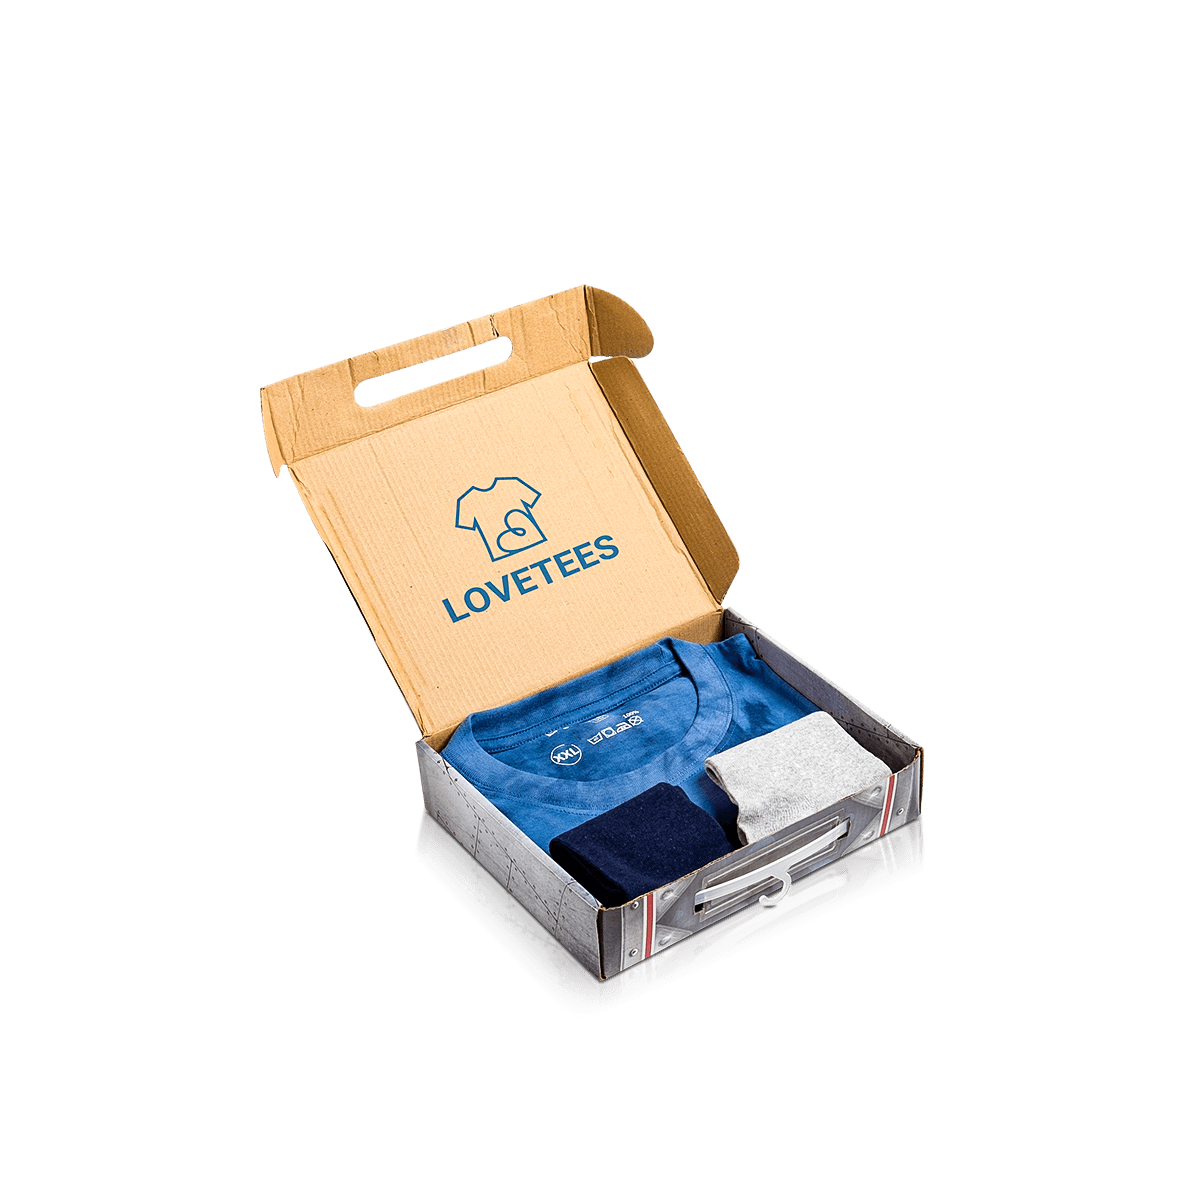
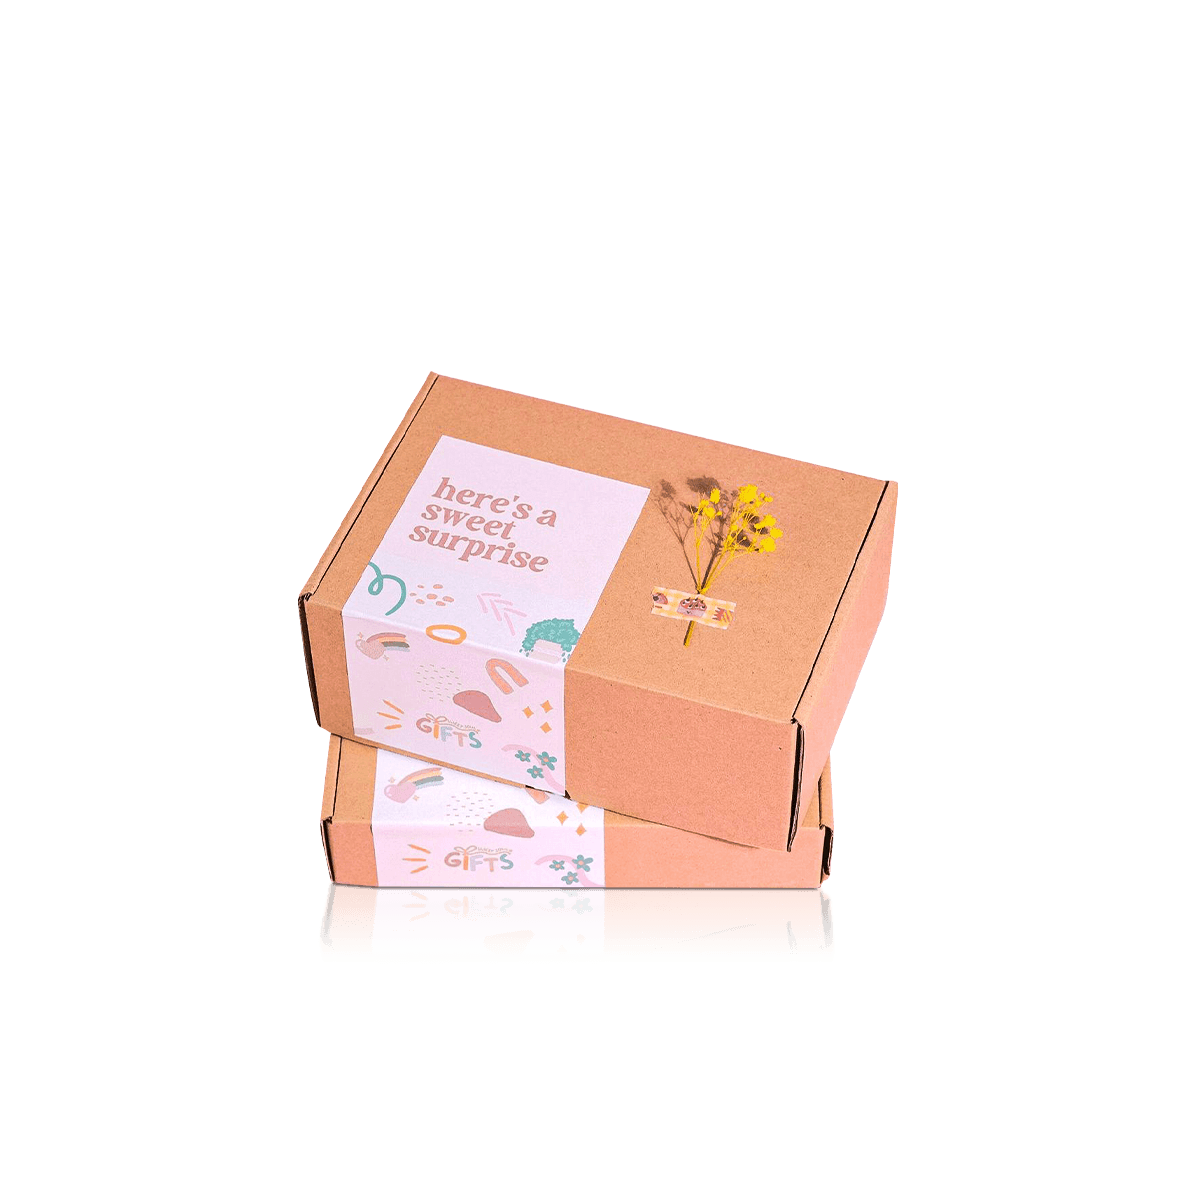
The display position should shape the structure before print is chosen. Custom Retail Boxes should remain stable from the first unit to the last. Boxes for shelves, peg hooks and counters each need a different plan.

Upright boxes need a steady base

Tall cartons can lean when the base is narrow. Loose inner space can make the problem worse. A tuck carton may suit a light item. A stronger base may help with bottles, tools or heavier accessories.

Test the filled box, not an empty sample. The front should stay flat. The side walls should not bow.

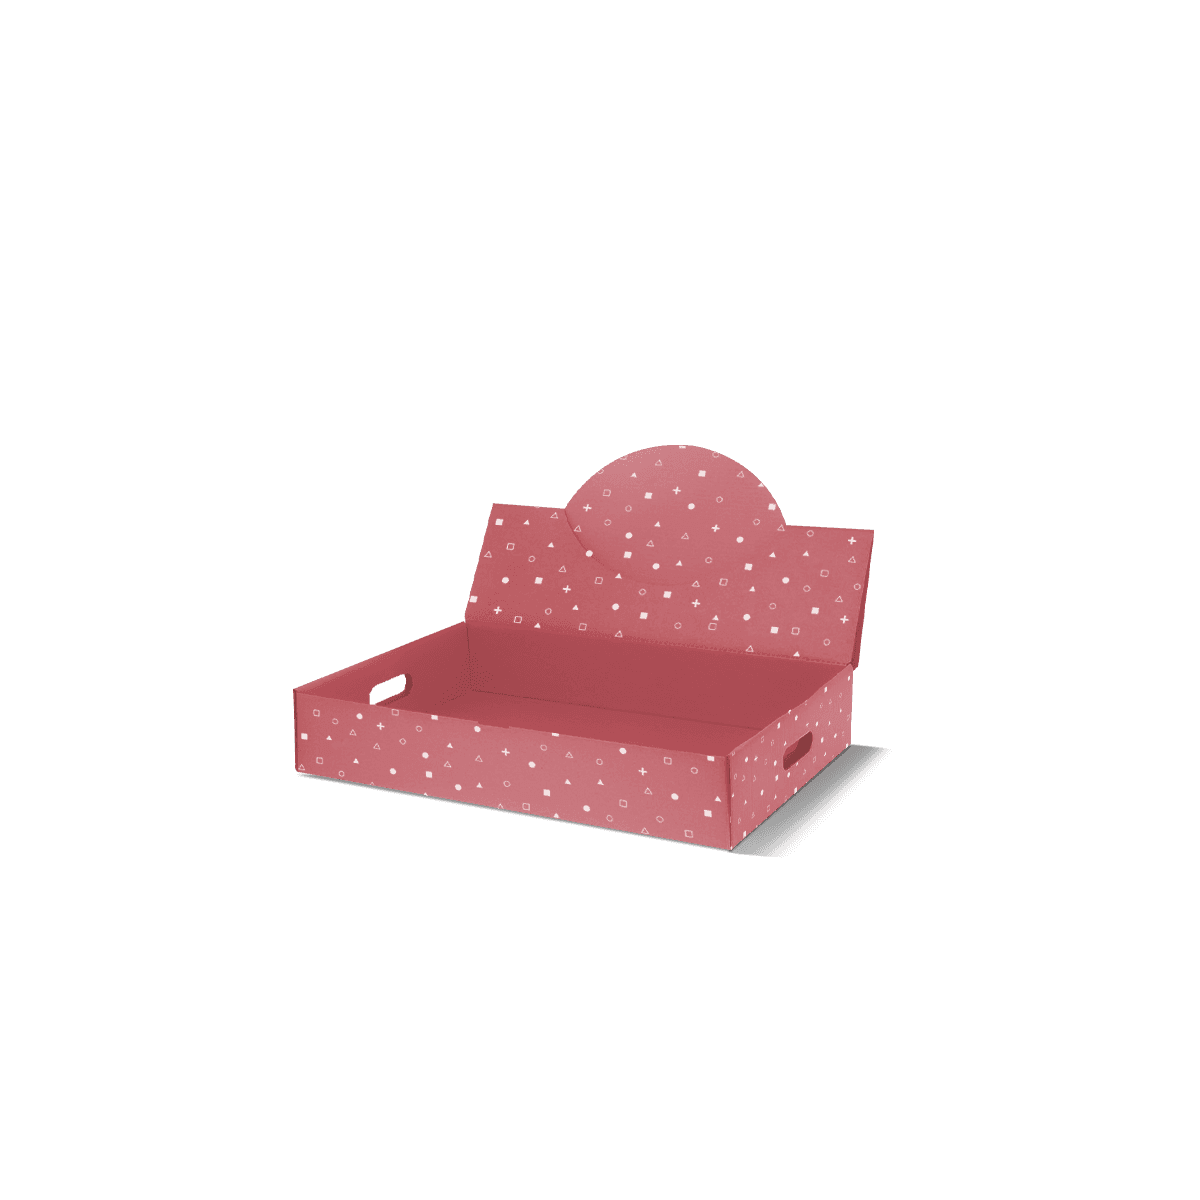
Hanging boxes must carry the weight

A hanging tab needs enough board around the hole and top fold. The box should also hang straight when filled.

Keep logos and small text away from the hang hole. The tab should not cover the product name or main image.

Counter items need a clear top view

Small products often sit below eye level. The top panel may need the product name, shade or key use.

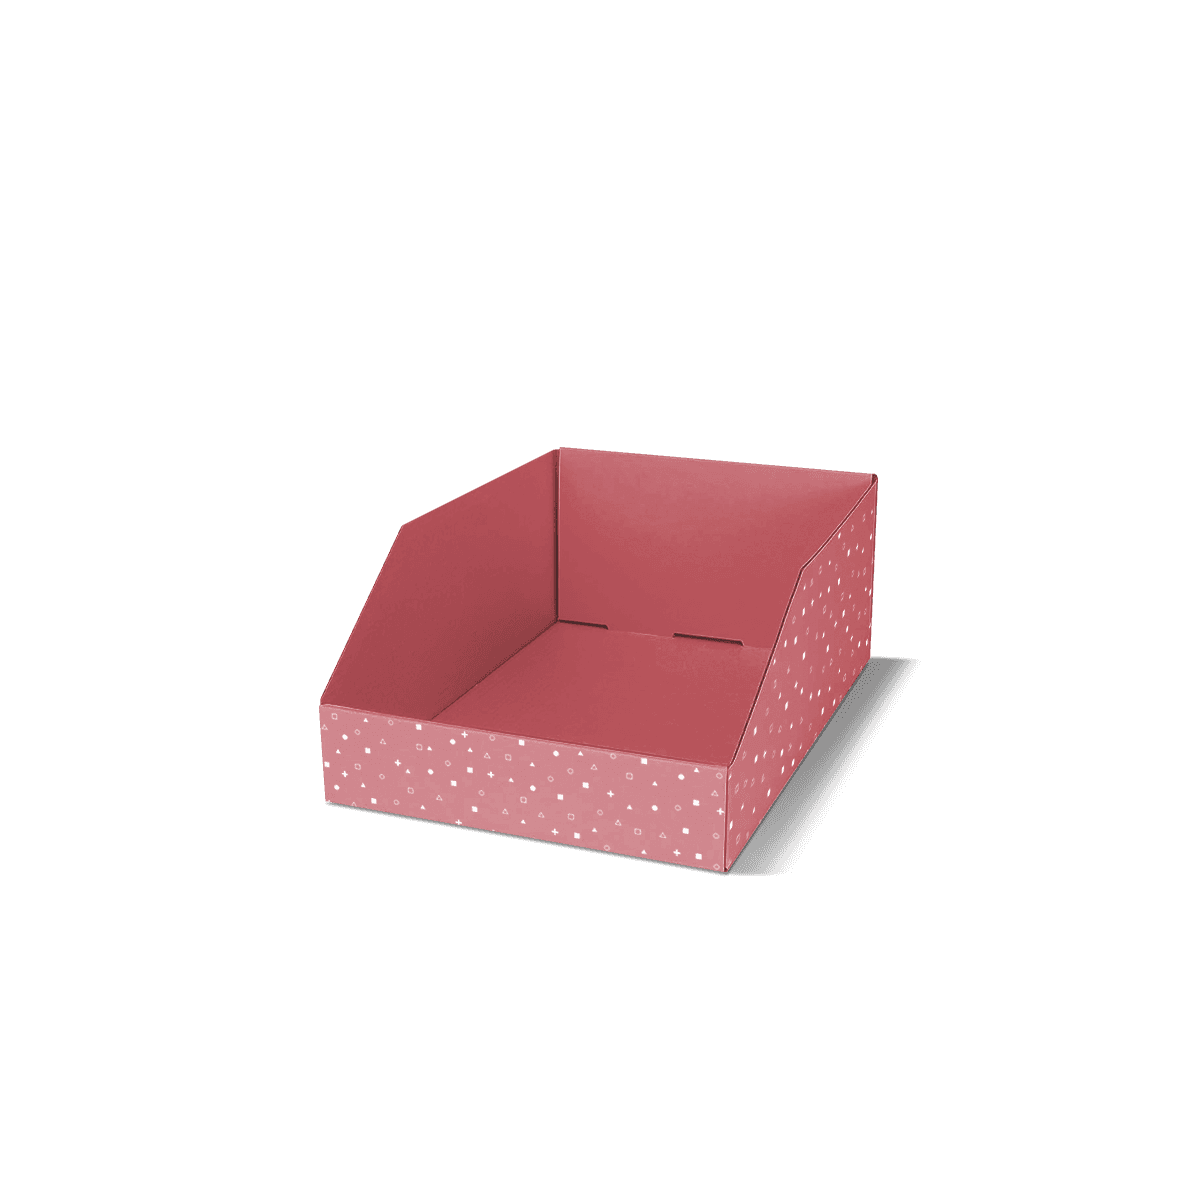
Several units can sit inside Custom Display Boxes. Custom Retail Boxes still protect each item and carry their own details.

Choose Closures for Weight and Filling Speed

The closure affects filling time, base strength and shelf shape. The right closure keeps Custom Retail Boxes easy to fill. It should also open and close without damaging the product or print.

Tuck ends suit lighter goods

Straight and reverse tuck cartons suit small accessories, light clothing items and compact products. They store flat and are simple to fill.

Custom Folding Cartons and Tuck Boxes include stronger base choices when a simple tuck end is not enough.

Auto-lock bases save hand work

A pre-glued base opens into shape quickly. It can help when staff fill many boxes or handle a heavier small item.

The finished base still needs a weight test. Fast assembly does not replace a sound structure.

Lid and base boxes suit gifts

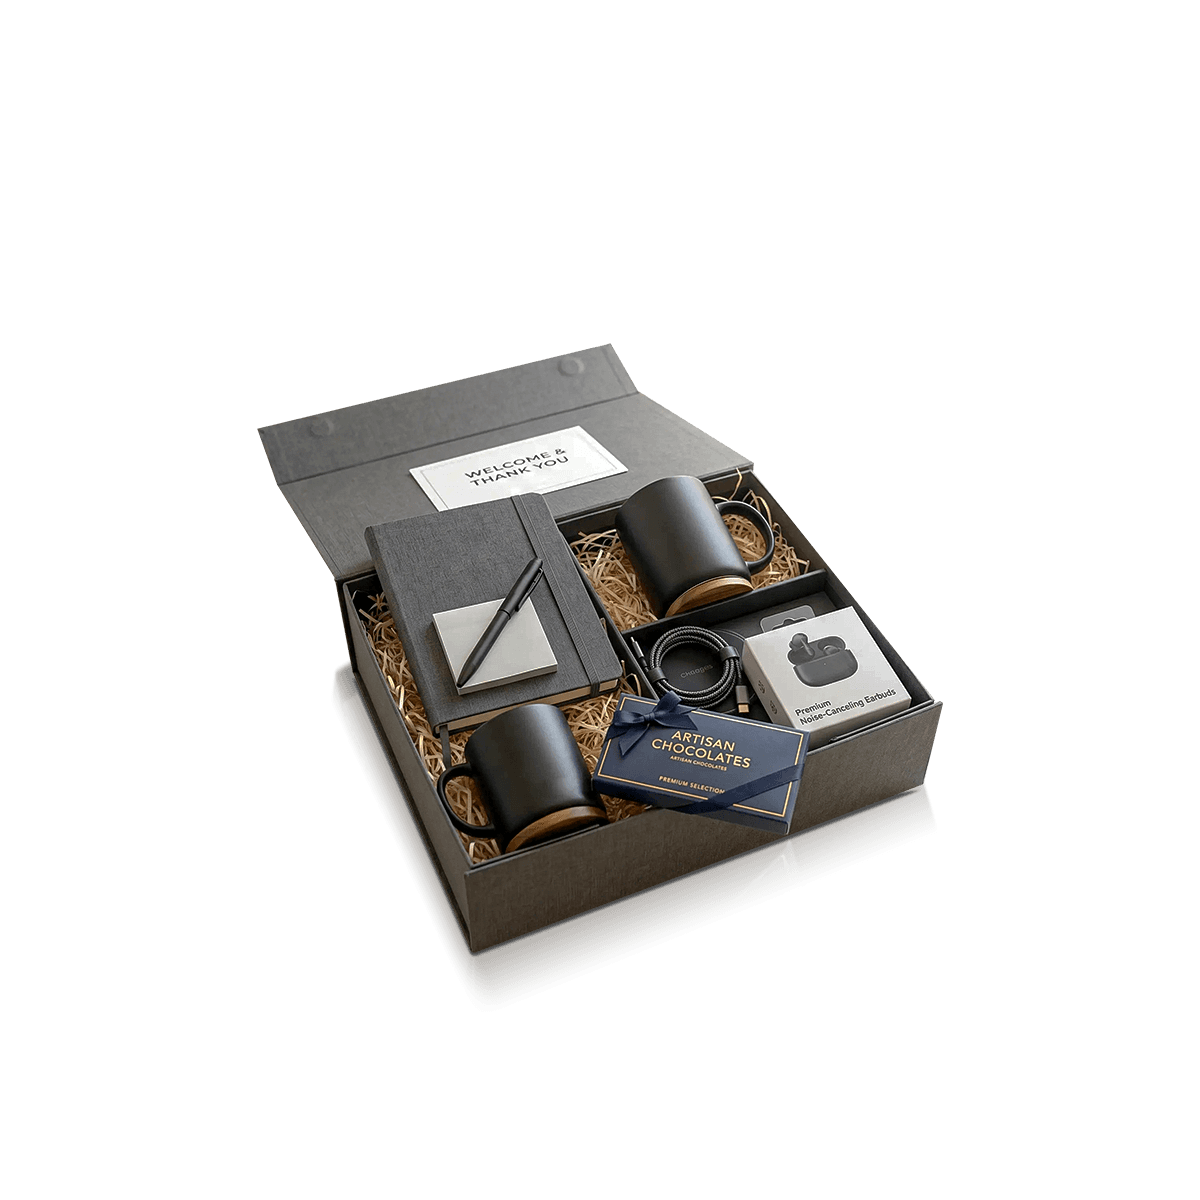
A separate lid and base creates a broad opening. It works well for limited pieces, gift sets and higher-value accessories.

These Custom Retail Boxes take more storage room than flat cartons. Use them when the product value supports the extra material.

Show the Product Only When It Helps

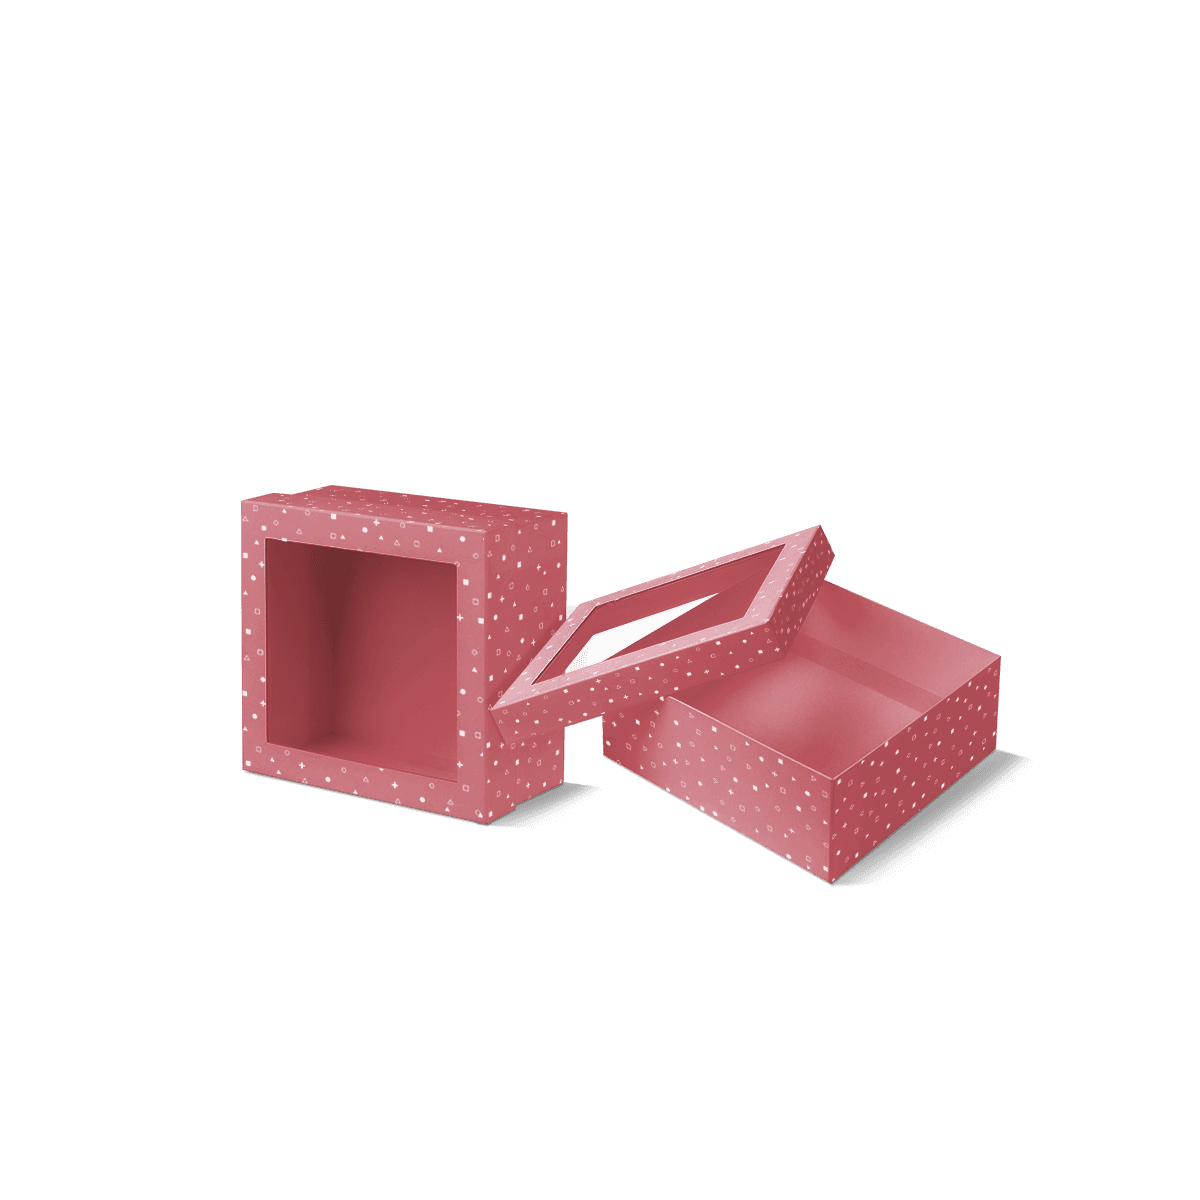
A window can show colour, texture or finish. It can also change how Custom Retail Boxes hold their shape. The opening may weaken the front panel or expose the item to dust.

Custom Retail Boxes need a window only when product sight helps the buying choice.

Use windows for colour and texture

A small opening can suit socks, accessories, stationery or textured goods. Place it over a stable part of the item.

Leave enough board around the cut-out. This helps the panel stay firm during store handling.

Keep some products fully covered

An opaque box gives more room for print and product details. It can also reduce touch before purchase.

Fully printed Custom Retail Boxes suit items that are best shown through photos, diagrams or clear copy.

Use sleeves for short-term artwork

A sleeve can update a plain inner box for a season or event. The main box can stay the same while the outer artwork changes.

The sleeve should slide without scraping the print. It should also stay in place when the customer lifts the box.

Make Every Product Variant Easy to Find

Stores may hold many sizes, colours, scents or models. Clear Custom Retail Boxes help staff separate each choice. They need a simple system that works without opening every carton.

Reserve one details panel

Place the product name, size, colour, barcode and item code in one set area. A short end often works well for stacked boxes.

Keep this area away from folds and closing flaps. A clean label space also stops store stickers covering the main design.

Use colour cues with written names

A colour block can speed up stock checks. It should not replace the written shade name or code.

Printed colour can look different from fabric, metal, glass or plastic. Clear text prevents mix-ups.

State the contents of sets

A gift box should say what sits inside. The insert can hold each part in place. The outer box should still list the full set.

Custom Apparel Boxes suit folded clothing and fashion sets. Custom Retail Boxes can focus on accessories, mixed items and smaller shelf goods.

Use Print That Reads in Seconds

Retail print needs a clear order. Custom Retail Boxes should explain the item before the customer turns them over. The front should not give every detail the same weight.

Lead with the product and brand

Use the main face for the brand, product name and one useful benefit. Put longer details on a side or back panel.

Small type can be hard to read through glare. Low contrast can also hide key details. A simple front often looks stronger on a busy shelf.

Keep required details organised

Some products need warnings, directions, ingredients or other set details. Place them in a clean and readable area where required.

The brand must check all legal and retailer rules before print. Custom Packly can support layout and print setup, but it does not give legal approval.

Choose finishes for real handling

Matt and gloss finishes change the feel and help protect print from light marks. Foil, raised print, pressed print or spot gloss can highlight a logo.

Dark matt surfaces may show hand marks. Fine foil near a fold may look less even. Materials and finishes can be planned through Customisation.

Hold the Product Without Excess Parts

The box should stop the item moving. It should not hide it under too many layers. A close fit often works better than a large box with extra fill.

Use inserts for a clear reason

A paperboard insert can hold the product in one place. It can protect an edge or keep a set neat.

Corrugated inserts add more support for heavier goods. The opening should still let the customer lift the item with ease.

Control loose accessories

Cards, cables and spare parts can slip below the main product. A small pocket, divider or second cut-out can keep them visible.

Test Custom Retail Boxes with every part included. A box may become too tight once cards and accessories are added.

Avoid unused depth

Too much depth lets a product turn or drop. It can also make the box look much larger than the item.

Group close products into a small set of box sizes. Do not force unlike shapes into one large carton.

Keep the Retail Box Clean During Delivery

A box can work well on a shelf yet lack shipping strength. Decide whether Custom Retail Boxes will travel alone or sit inside an outer mailer.

Protect fine cartons with a mailer

A close outer box keeps labels, tape and rubbing away from the printed carton. This is useful when the retail box is part of the unboxing.

Custom Mailer Boxes can hold one retail item or a grouped order. Keep the outer size close to the inner box.

Set the first view

The retail box should face the right way when the mailer opens. Tissue or a simple card can support the reveal.

Do not add layers that slow opening without helping the product.

Think about eligible returns

Some returns need the original Custom Retail Boxes unit. An outer mailer can keep it free from tape and courier labels.

The return process should match the brand’s stated policy and product condition rules.

Plan Orders Around Product Changes

Retail items can change in size, colour, model or barcode. The box structure may stay the same while the print changes.

MOQ starts from 50. Custom Packly also supports larger launches, bulk orders and high-volume repeat work. A shorter first run can suit a new product test. Core items may suit larger orders once the fit is proven.

Keep an approved record for each Custom Retail Boxes size. Note the inner size, board, closure, insert, print colours and finish. Also record the label area and artwork version.

Flat cartons need less storage space than set-up gift boxes. Order quantities should reflect product updates, use rate and dry storage space.

Send Details That Lead to a Better Quote

A useful quote starts with the product and the store setting. Send:

  • exact product size and filled weight
  • the position of the item inside
  • shelf, peg, counter or gift use
  • each box size and quantity
  • preferred closure or base
  • window, insert or hanging-tab needs
  • barcode and label position
  • outside and inside print needs
  • board or paper choice if known
  • finish ideas
  • artwork status
  • required date

Photos of the product on its shelf can help explain the viewing angle. Include all cards, parts and inserts during the size check.

Send these details through Get a Quote. Custom Packly can then price Custom Retail Boxes around the real product, store use and delivery needs.

FAQs

Yes, when the item sizes stay close. Use one fixed panel for colour, size, model or barcode changes.

Only when seeing the item helps the buying choice. Keep enough board around the opening for strength.

An auto-lock or reinforced base may help. Test the final choice with the actual filled weight.

A physical sample helps when the fit is tight or the item is fragile. A 3D mockup is usually enough for a simple carton.

Process

How it works

Simple steps from idea to delivery

01

Tell Us Your Specs

Custom packaging boxes

Tell Us Your Specs

Provide size, quantity, printing, and finishes.

02

Get a Fast Quote

Custom packaging boxes

Get a Fast Quote

Instant transparent pricing, no hidden fees.

03

Design and Approval

Custom packaging boxes

Design and Approval

Artwork checks, revisions, and final sign-off.

04

Produce

Custom packaging boxes

Produce

Expert manufacturing to meet deadlines.

05

Ship to Your Door

Custom packaging boxes

Ship to Your Door

Hassle-free, flexible delivery options.

Start Your Custom Packaging Quote

Share your product details, dimensions, quantity and artwork needs. We’ll help choose the right packaging style and send a clear quote.