A custom mailer box can look perfect on screen and still fail on its first serious courier run.
We saw exactly that with a Sydney business that was sending products to customers across Australia in tuck end boxes. The boxes looked acceptable when they left the packing area, but products and packaging were arriving damaged. Customers were unhappy.
We redesigned the packaging around a stronger mailer box. Product protection improved, customers started receiving their orders in much better condition and repeat orders increased rapidly.
That experience sums up how I think custom mailer boxes should be made: start with what the box has to survive, then design how it should look.
At Custom Packly, when someone asks us to make a mailer box, I first want to know the product dimensions, weight, quantity, shipping method, insert requirements, branding, preferred material, budget and artwork status. Those details usually tell us far more than a logo or reference image.
Start With the Product Before Choosing the Box
The first decision is not colour, finish or even box dimensions. It is understanding what will actually sit inside the mailer.
I normally want eight pieces of information:
If the business already uses packaging, I also ask what is going wrong with it.
That could be damaged corners, crushed products, movement inside the carton, excessive filler, slow packing or customers receiving something that does not match the brand experience they expected.
Those problems often point directly towards what needs to change.

Measure the packed product, not just the bare item
Measure the product in the condition in which it will enter the mailer.
If a bottle already sits inside a retail carton, that carton matters. If an item needs protective wrapping, include it. If two products are commonly purchased together, think about that combination before setting the final dimensions.
Copying the dimensions of an existing box is not always a safe shortcut. If the current packaging has too much empty space, you can simply reproduce the original mistake.
Product weight can change the specification completely
Two products can have similar dimensions and need completely different mailer boxes.
A lightweight T-shirt and three glass skincare jars may occupy similar space, but they put very different loads on the base, walls and closure.
Dimensions tell us whether the product fits.
Weight helps tell us whether the structure can carry it.
Decide Whether a Mailer Box Is Actually Right for the Job
Mailer boxes make sense when the delivery box itself forms part of the customer experience.
They work particularly well for ecommerce orders, subscription products, sample kits, accessories, apparel, cosmetics, gifts and product launches.
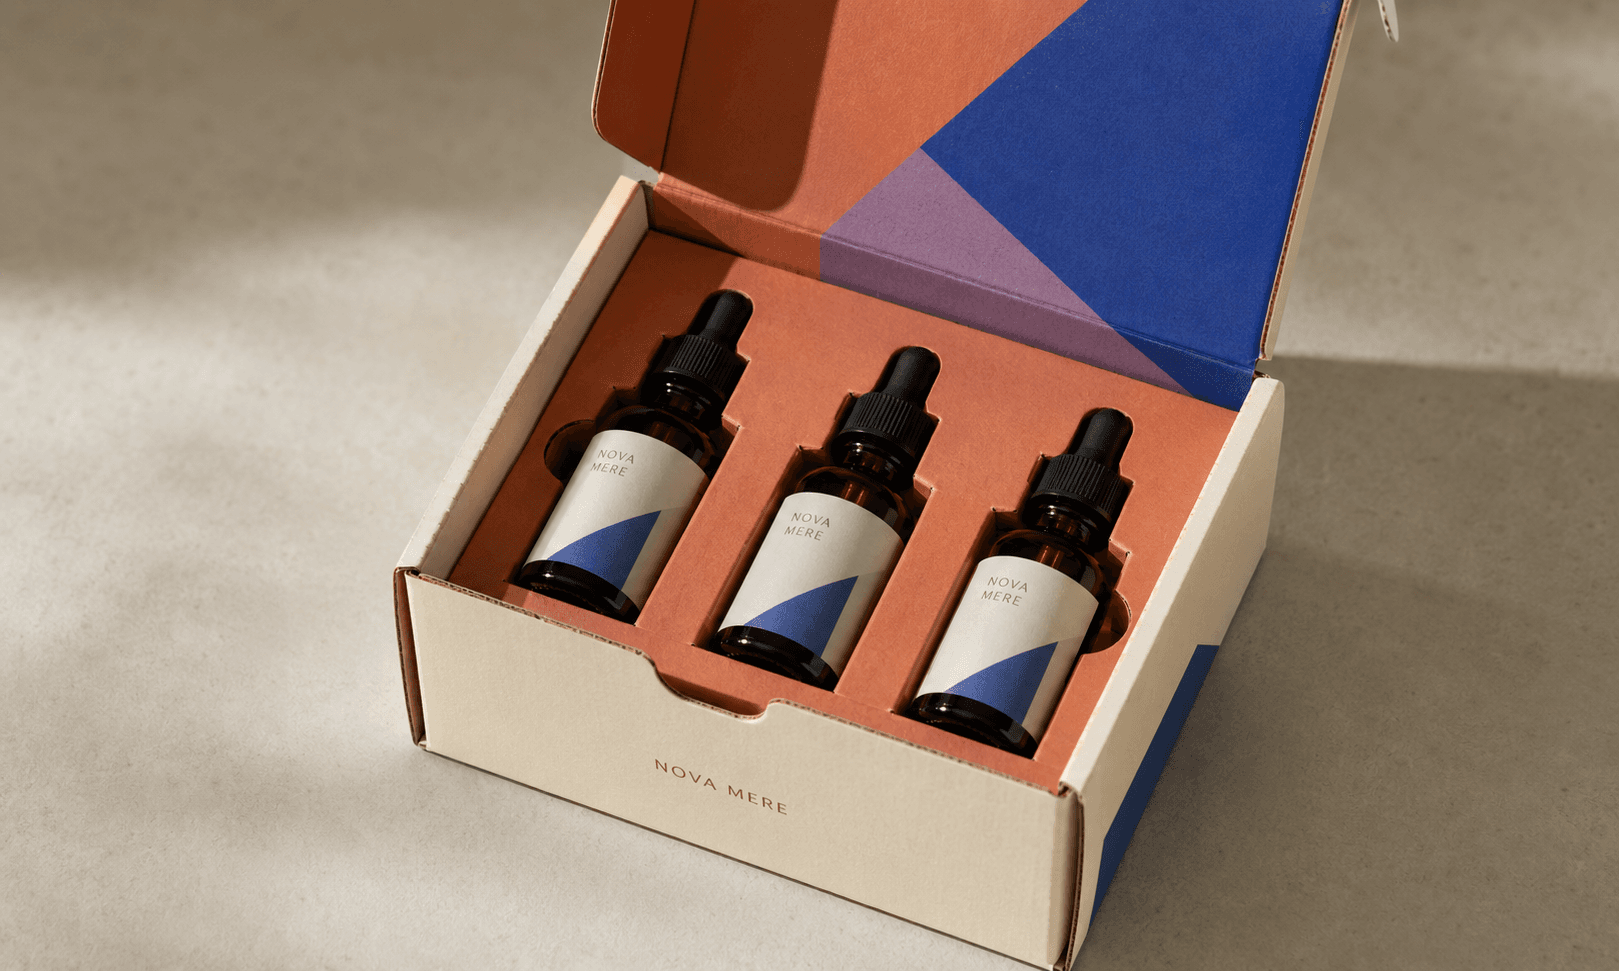
A well-specified custom mailer box can combine shipping protection with branded presentation, including outside print, inside print and fitted inserts.
But I would never choose a mailer simply because it looks impressive in a mock-up.
A heavier or more demanding shipment may need custom shipping and postal boxes that put transit strength ahead of the opening experience.
The structure has to match the job.
The Sydney Project That Changed the Shipping Experience
The Sydney business I mentioned earlier had a fairly common problem.
They were using tuck end boxes to ship products directly to customers around Australia. Tuck cartons can work very well for many retail products, but in this case the boxes were being asked to handle a shipping environment they were not suited to.
Products were getting damaged.
The boxes themselves were arriving damaged.
Customers noticed.
That last point is easy to underestimate. When somebody buys online, the delivered parcel is often their first physical interaction with the business. A damaged box changes the experience before the product is even used.
We updated the packaging design and moved the products into stronger mailer boxes.
The improvement was structural first. The new boxes protected the contents much more effectively during shipping. Customers began receiving the products safely and customer satisfaction improved.
Their repeat orders then increased rapidly.
I would not interpret that as “mailer boxes are always better than tuck end boxes”. That would be the wrong lesson.
The correct lesson is that packaging has to suit the journey you expect it to make.

Think About Inserts Before Finalising the Mailer Size
One of the most common mistakes I see is treating inserts as something to add after the outer box has already been designed.
An insert occupies space.
It changes how the product sits.
It can change the internal dimensions you need.
It can also determine whether one box works properly for several similar products.
That means the insert should often be considered at the same time as the mailer itself.
An insert should control the product
I usually consider an insert when it needs to:
Custom inserts and dividers work best when the outer carton and internal fit are designed together.
An insert should not simply fill a huge empty space created by choosing the wrong box.
If you are deciding whether internal support is worth adding, How to Choose Packaging Inserts covers the decision from product movement, protection, presentation and packing efficiency.

Do Not Force Every Product Into One Mailer Size
The other mistake I see repeatedly is trying to use one box size for products that are substantially different.
I understand the appeal.
One box can mean:
But that simplicity has a limit.
If a small product sits inside a large box surrounded by filler, the business may save complexity in storage while creating extra cost during every shipment.
One size can work when the products are closely related
If products have similar dimensions, weight and protection needs, one outer mailer can sometimes work very well.
Different inserts may allow you to adjust the internal fit while keeping the same outer box.
This can be particularly useful for closely related products, gift sets or variations that use similar components.
Several sizes can reduce hidden costs
I start considering another mailer size when differences in product dimensions, weight or fragility become too large.
Presentation can justify another size too.
A small premium product floating inside a large mailer may arrive safely but still feel badly packed.
The decision usually comes down to:
The right answer is sometimes one size, sometimes several sizes and sometimes one outer box with different inserts.
One Box Size or Multiple Sizes? looks specifically at how those trade-offs affect the final choice.
Choose the Board for the Actual Shipping Conditions
Once the structure and approximate size are clear, I look at material strength.
Corrugated board is common for mailer boxes because the fluted layer adds rigidity and protection without making the carton unnecessarily heavy.
But “corrugated” alone does not settle the specification.
Product weight, dimensions, fragility and handling still matter.
A mailer carrying lightweight clothing does not face the same forces as one carrying several glass containers.
Going too weak can lead to crushed panels, distorted corners or product movement.
Going unnecessarily heavy adds cost and material without necessarily improving the shipment.
For businesses deciding between common packaging constructions, Paperboard vs Corrugated vs Rigid Boxes makes the differences easier to understand before choosing the material.

Set the Final Dimensions After the Structure Is Clear
There is a difference between product dimensions and finished box dimensions.
Suppose the product measures 200 × 150 × 50 mm.
That does not automatically mean the mailer should use exactly those internal dimensions.
You may need to account for:
This is why I prefer product measurements first.
We can then work towards box dimensions instead of asking the product to fit a number chosen too early.
Create the Dieline Before Finishing the Artwork
After the dimensions and structure are confirmed, we create the dieline.
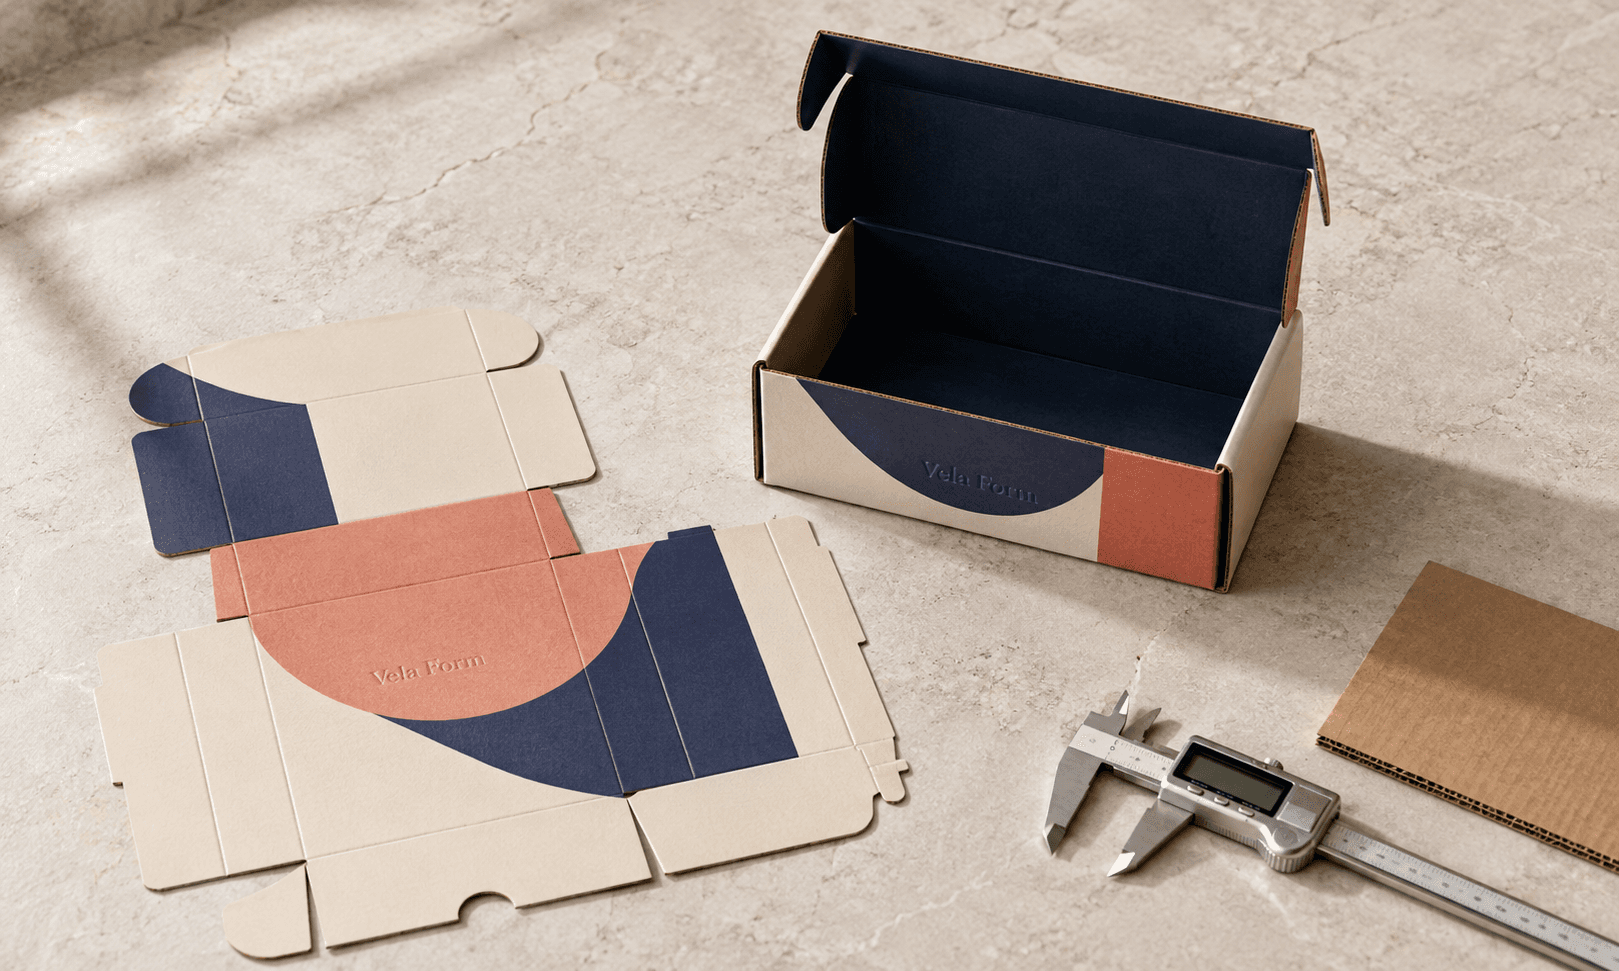
The dieline maps the flat box before it is cut, creased and assembled. It shows where the panels, folds, flaps and structural areas sit.
Designing completed artwork before the dieline is ready can cause avoidable problems.
A logo may land too close to a crease. Text may cross onto another panel. An important graphic may end up on a flap that is barely visible after assembly.
With the Dieline Tool, dimensions and structure can be turned into a useful starting point for artwork placement before production.

We also help clients prepare their artwork around the dieline rather than leaving them to guess how a flat file will become a finished box.
Design the Artwork Around How the Customer Opens the Box
Once the dieline exists, the design work becomes much more meaningful.
The panels are no longer separate rectangles on a screen. They form one physical object.
For a mailer, I normally think about:
Print and finish options can then be matched to the structure in the customisation process, including material, colour, surface treatment and internal presentation.
I prefer this sequence because it stops decorative decisions from dictating structural ones.
Use 3D Mock-Ups and Samples to Answer Different Questions
After artwork approval, we can move to a 3D mock-up or physical sample depending on what the client wants to confirm.
I do not consider them substitutes for one another.
A 3D mock-up helps you judge presentation
It is useful for seeing how the flat artwork behaves once the box becomes three-dimensional.
You can check:
That makes it valuable when the main uncertainty is visual.
A physical sample helps you judge performance
A sample matters more when the uncertainty is physical.
Put the actual product inside it.
Close the lid.
Lift it.
Move it.
Look at the corners.
Check whether the product shifts.
See whether the insert stays in place.
Pay attention to how the closure behaves with the real product weight inside.
A digital mock-up can show you what the box should look like. It cannot tell you exactly how a glass jar will move during handling.
For lightweight, straightforward products, a 3D mock-up may give the client enough confidence.
For fragile, heavy or unusually shaped products, I put more value on physical testing.

Approve the Specification Before Full Production
Once the dimensions, structure and artwork are approved, we move into production.
Our normal sequence is:
The sequence is deliberate.
If you change the dimensions, the dieline may change.
If the dieline changes, panel sizes can change.
If panel sizes change, artwork may have to move.
Making structural decisions early avoids creating unnecessary design work later.
Quality Control Means More Than Checking the Printing
A mailer can have excellent print and still be poor packaging.
Our internal checks focus on whether the finished box matches what has been approved and whether it should work consistently when packed.
That includes checking areas such as:
I care particularly about repeatability.
A business may pack hundreds or thousands of orders. The box needs to assemble and close consistently rather than work perfectly only once.
That becomes particularly important for custom ecommerce packaging, where the same packaging may face many separate courier journeys and packing sessions.

Do Not Judge the Quote by Unit Price Alone
A lower unit price can hide higher operating costs.
Imagine a cheaper box that is significantly oversized.
Every order might then need more filler.
Employees spend more time packing it.
The parcel occupies more space.
Products have more room to move.
Shipping may cost more.
Now compare it with a slightly higher-priced box that fits properly and needs little extra material.
The cheaper unit price is not necessarily the cheaper packaging decision.
The opposite problem also exists.
There is no reason to over-engineer a lightweight product with unnecessary board strength and extra material.
My aim is not to create the strongest box possible.
It is to create enough strength for the product and shipping conditions.
Send Better Information and You Will Get a Better Box
You do not need to know the technical name of every board or closure before contacting a packaging supplier.
But useful information makes it much easier to recommend the right specification.
I would send:
If you do not know the final box dimensions, that is fine.
Accurate information about the product is more useful than copying dimensions from a box that does not work properly.
My Preferred Order for Making Custom Mailer Boxes
If I were starting a mailer box project from zero, this is the order I would use:
Artwork comes well after the first structural decisions for a reason.
A beautiful box that does not protect the product is still a bad box.
Get the fit, structure and protection right first. Then use design to make a box that already works look like your brand.
If you are developing a new mailer or replacing packaging that is getting damaged in transit, get a quote with your product dimensions, packed weight, quantity and shipping method. Those details give us enough information to start working towards the right structure.

FAQs About Getting Custom Mailer Boxes Made
What information should I provide when ordering custom mailer boxes?
Start with product dimensions, packed weight, quantity and shipping method. Product photos, fragility, insert requirements, branding, material preference, budget and artwork status also help us make a more accurate recommendation.
Do I need to know the exact mailer box size before requesting a quote?
No. In many cases, I would rather start with accurate product measurements. The finished dimensions can then account for clearance, inserts, board construction and the way the product needs to sit.
Should every custom mailer box have an insert?
No. An insert should solve a real problem such as movement, separation, fragility, orientation or presentation. If the product already fits securely, adding one may only create extra material and cost.
Can I use one mailer box size for several products?
Yes, when the products are close enough in dimensions, weight and protection needs. Different inserts can sometimes make one outer size work well. Large differences may justify separate box sizes.
Is a 3D mock-up enough before production?
It can be when you mainly need to check artwork and presentation. If fit, product movement, weight, fragility or insert performance matters, a physical sample gives you information a screen cannot.
What should I test on a physical mailer box sample?
Pack the actual product. Check movement, closure, board behaviour, insert fit and how easily the box can be assembled. The aim is to test the packaging as it will actually be used.
Can a mailer box be used as the shipping box?
Yes, when its structure and board strength suit the product and delivery conditions. Heavier or fragile products may require a stronger construction, internal protection or a different shipping box.