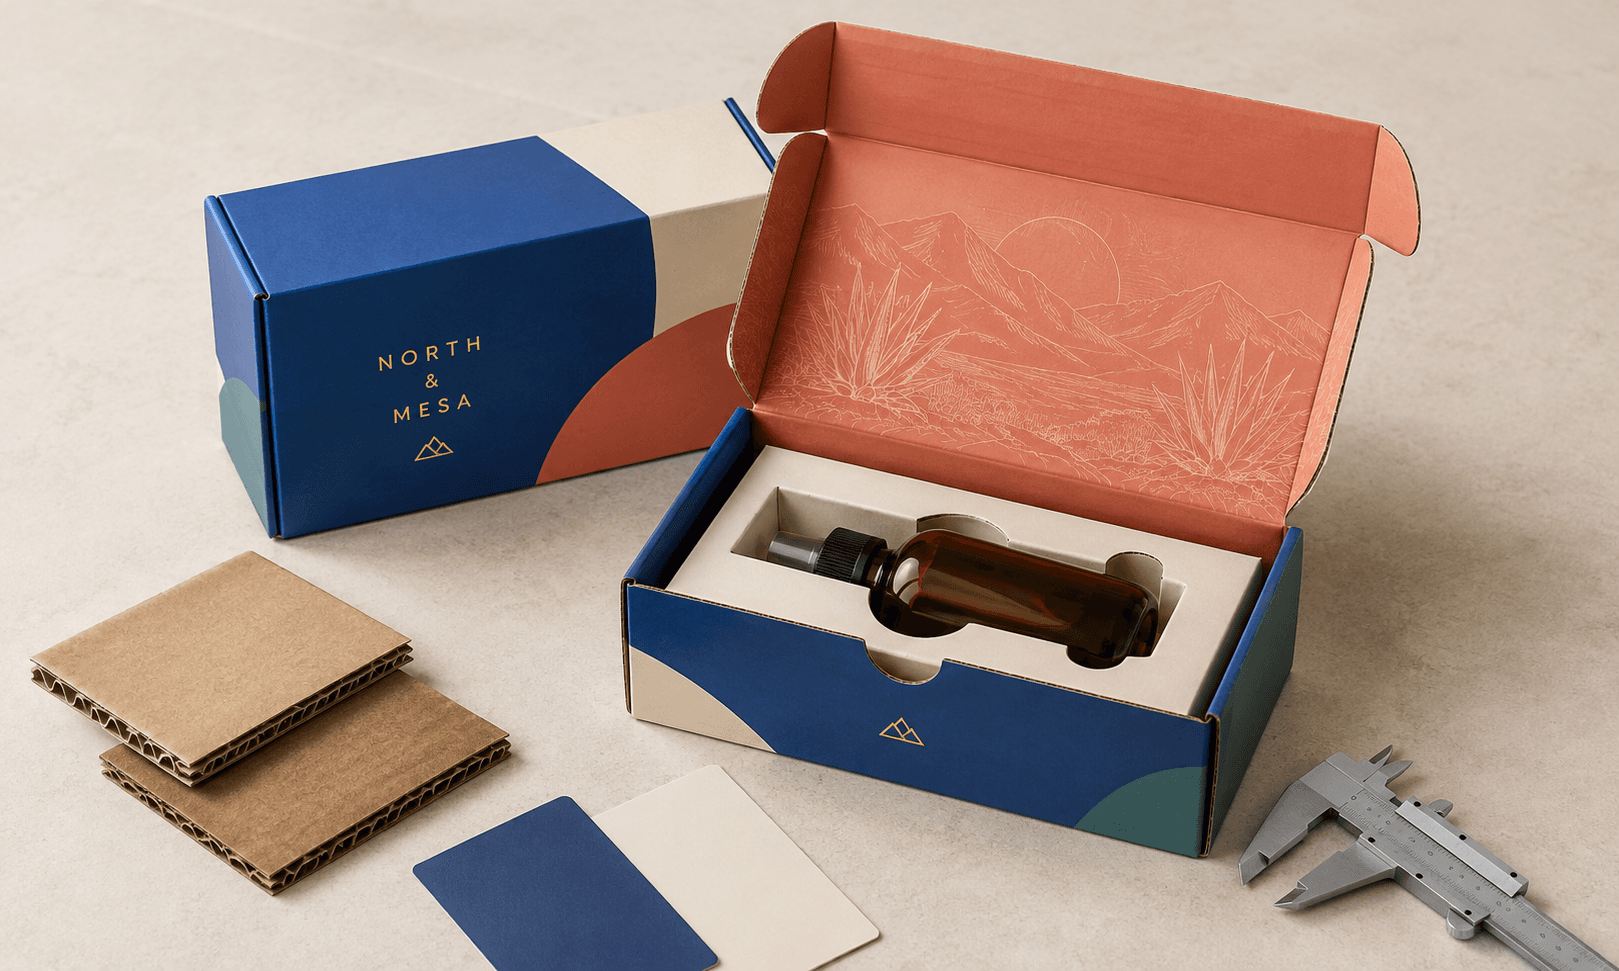
Choose packaging inserts by checking what can damage the product, how it needs to be supported and what the complete packing process will cost. Paperboard often suits light retail products. Corrugated board offers more structural support for delivery. Foam and moulded pulp deserve consideration when their cushioning, shape or presentation justify the investment.
The material is only part of the decision. A poorly fitted foam insert can leave a fragile closure exposed to impact. A carefully designed cardboard structure can hold the same product more securely and take far less time to pack.
At Custom Packly, I start with the product and its delivery journey. My aim is to find the simplest structure that protects it, presents it properly and works at the packing bench.
Sometimes that means a fitted insert. Sometimes a divider is enough. Sometimes the best decision is to leave the insert out.
Decide What the Insert Must Prevent
A packaging insert earns its place when it solves a specific problem, such as glass touching glass, a bottle bouncing against the lid or a heavy jar breaking its support.
I check four things before recommending a structure:
Weight matters, but I do not treat a fixed gram limit as proof that one material will work. Board grade, support area, folds, product shape and impact conditions all affect the result.

When a Fitted Insert Is Worthwhile
Choose a fitted insert when a product needs controlled support or several differently shaped items must stay in set positions.
Skincare sets, glass gifts, electronics kits and products with delicate accessories often benefit from custom inserts and dividers that support each item at suitable points.
The aim is to limit damaging movement while keeping vulnerable parts clear of contact. Holding a bottle tightly around a weak cap is a poor trade for a neat-looking cavity.
When a Divider Is Enough
A divider makes sense when separation is the main requirement. Similar jars, bottles or small cartons may need individual compartments without a detailed contour around every item.
Properly sized box dividers help prevent neighbouring products rubbing or colliding. Their height, cell size and board strength still need to suit the load.
For glass multipacks, I also check support beneath the products and clearance above them. A grid alone does not solve every impact risk.
When I Leave the Insert Out
Durable clothing, soft goods and products already protected by suitable primary packaging may need no fitted insert. The outer box still needs the correct dimensions and enough protection for its journey.
I also question custom cavities for subscription boxes whose contents change each month. Modular dividers or suitable paper cushioning can accommodate changes without repeated tooling costs.
For a small launch with many product shapes, I would usually establish a workable packing method before commissioning a separate insert for every variation.
Compare Packaging Insert Materials
The best insert material is the one whose structure, surface and cushioning suit the product. I compare the finished design, not just the name of the material.
Paperboard for Light Retail Products
Paperboard is often my starting point for lightweight cosmetics, tubes, small accessories and retail sets that need clean presentation.
The smooth surface of paperboard inserts supports crisp printing and a tidy product layout. Folded supports can create useful strength without a bulky block of material.
Its limits become clear when a heavy item rests on a narrow edge or an unsupported panel. Thin paperboard offers limited cushioning on its own, so I check how the entire structure carries the load.
A filled glass bottle needs a physical fit check even if the empty container looks light enough on paper.
Corrugated Board for Delivery Support
Corrugated board is a strong candidate for jars, candles, bottle sets and products that need support during parcel delivery.
With corrugated box inserts, the folds and support points matter as much as the flute. A raised platform, cradle or bridge can keep a vulnerable item clear of the outer walls.
E-flute can produce a relatively compact structure, but it is not automatically suitable for every heavy product. I assess the board grade, span between supports and packed performance together.
Corrugated does not have to look unfinished. Clean folds, concealed edges and a suitable printed facing can improve presentation. I spend on visible surfaces and keep hidden supports practical.
Foam for a Defined Cushioning Need
Foam can be justified for delicate instruments, valuable devices, fragile components and packs intended for repeated use.
EVA, polyethylene and polyurethane foams behave differently. Density, thickness, contact area and the amount of compression available all influence protection. The densest foam is not automatically the best cushion.
My strongest objection is to choosing black foam purely because it looks expensive. I often challenge it for sturdy cosmetic containers that could work in a well-designed card insert.
I also consider storage volume and disposal. A card facing bonded to a foam core may improve appearance, but it remains a mixed-material component that needs an appropriate recovery route.
Moulded Pulp for Repeatable Shapes
Moulded pulp can suit electronics, cosmetic sets and repeat products that need a shaped tray. Smooth moulded fibre can also provide a refined appearance without a fabric covering.
The main commercial question is whether the quantity justifies dedicated tooling. Frequent product changes can weaken that case because a revised shape may require new tooling.
I would also check the proposed grade under relevant humidity and storage conditions. Its material specification and geometry need to suit the journey.
For a small first order, a folded card structure may be easier to justify. For a stable product ordered repeatedly, moulded pulp deserves a closer cost comparison.

Check the Finished Material’s Disposal Route
Recycling advice must match the finished insert, including any bonded foam, fabric, coating or decorative layer.
Paper and cardboard collection is widely available in Australia, as Planet Ark’s recycling information confirms. I still check local acceptance and the actual construction before making a claim about a particular insert.
Ask for evidence behind recycled-content and compostability claims. A brown colour does not establish recycled content, and a fibre-based appearance does not confirm how a coated component should be disposed of.
My preference is to use fewer materials and make any parts that require separate disposal easy to remove.
Get the Fit Right in Three Dimensions
A good insert must hold the product securely, load without force and release without damaging the product or frustrating the customer.
Measure Real Finished Products
We use physical samples because glass, ceramics and moulded plastics can vary between batches. Labels, seams and closures can also change the final footprint.
I measure the widest point, narrower support points and total height. Where available, samples from different batches help reveal variation that a single specification sheet misses.
The insert must also fit the assembled box. Accurate internal box measurements establish the usable space after board thickness, folds and closure details are considered.
Confirm the size of every item in a set, including accessories. A small spatula or cable should have an intentional place.
Treat Clearance as a Starting Point
For some paperboard cavities, our early samples may start with about 0.5 to 1 mm of clearance per side. Certain corrugated layouts may start around 1 mm. Those figures need adjustment for the actual product, stock and support method.
A foam cavity may use an interference fit, with the opening slightly smaller than the product. The amount depends on the foam’s compression and the surface being held.
Always distinguish clearance per side from the total increase in cavity size. For a round product, 1 mm per side adds 2 mm to the opening diameter.
I approve the physical result. If the product scrapes, jams, shifts or strains a fragile part, the dimensions need work.

Support Strong Areas and Clear Fragile Parts
Choose support points that can carry the load, such as a suitable base, body or shoulder. Keep pumps, dropper tops and other vulnerable features clear where the design allows.
Vertical restraint is easy to overlook. A bottle can look secure from above while still bouncing against the lid.
I check the space above and below the product with the box closed. Any neck support must distribute force appropriately and suit that specific container.
Give the Customer a Way to Lift
Finger notches, lifting tabs or an accessible shoulder can make removal much easier. The opening needs to give enough purchase on the product without weakening the surrounding support.
For some long, flat items, a recess beneath one end can let the customer press down and raise the other end.
We check removal with the actual product, including its label and finish. A visually precise cut-out still needs to work in someone’s hands.
Test the Complete Packed Box
Approve packaging inserts using the specified material and real products inside the intended outer box. A digital mock-up helps assess layout, but physical testing reveals movement, friction and weak supports.
Our development checks focus on:

Our early checks have included one-metre drops for suitable small parcels. That is a development check, not a universal test specification. Formal testing needs the sequence and conditions appropriate to the shipment. ISTA 3A, for example, assesses parcel-delivery packages as complete product-and-packaging systems using several transport stresses.
I reject a design if the product breaks, leaks, suffers unacceptable marks or loses the protection the insert was meant to provide. I also review repeated unnecessary folding at the packing bench. For straightforward inserts, taking more than about 20 seconds to assemble prompts us to look for simplification.
Retest when the container, board grade, insert dimensions or outer box changes. A previous sample cannot establish the performance of a different specification.
How a Skincare Insert Saved A$13,500
One skincare project showed why material cost, fit and packing time need to be assessed together.
The customer sold a premium set containing a glass serum bottle, a heavy ceramic cream jar and a bamboo spatula. A stock mailer held two layers of EVA foam with a black velvet covering.
The foam protected the jar, but the bottle could move vertically. Its plastic dropper cap sometimes hit the lid and cracked. Customers also objected to the amount of plastic, while warehouse staff had to peel, stack and tape the foam layers before loading the products.
The Change We Made
We replaced the layered foam with a single-piece, self-locking E-flute corrugated insert.
A raised bridge structure supported the serum bottle and maintained clearance around its vulnerable closure. Separate positions held the jar and spatula. The insert arrived flat and opened into shape without the packer assembling two foam blocks.
The customer selected recycled kraft board, which also removed the foam and velvet from the insert construction.
This is the kind of improvement I prioritise when reducing ecommerce packaging damage: identify how the product moves, then correct the support and clearance.
The Recorded Results
Across the customer’s 5,000-unit production run, the project figures showed:

These results relate to that product set and redesign. They demonstrate how correcting the structure can improve several costs at once; they do not establish that corrugated board will outperform foam in every pack.
The team also reported easier handling of peak order volumes. That operational benefit mattered alongside the material saving.
Calculate the Full Cost of Packaging Inserts
Compare the cost of a packed, protected order, including setup and handling. A unit price alone leaves too much out.
I assess five costs:
This approach also helps when comparing custom packaging costs across different box-and-insert combinations.

Include Tooling in the Unit Cost
As an illustrative budget, consider 500 corrugated inserts at A$1.85 each with a separate A$150 setup charge, excluding GST.
The inserts cost A$925. Adding setup brings the total to A$1,075, or A$2.15 per insert before packing labour and any additional quoted charges.
This is a budgeting example, not a current quote. Dimensions, cavities, board, print and supply conditions can change the price. Confirm whether samples, delivery and GST are included when comparing proposals.
A separate high-volume foam quote cannot prove that foam is cheaper than cardboard unless the quantities and protective requirements are comparable.
Put a Value on Packing Time
Use your actual loaded labour rate when comparing assembly methods.
For illustration, at A$36 per hour, an extra 30 seconds costs A$0.30 per order. Across 5,000 orders, that adds A$1,500 in packing labour. The hourly rate is an example, not an industry benchmark.
If that structure saves A$1 in material, the remaining saving is A$0.70 before other costs. Compare that result alongside any effect on throughput and storage.
I prefer timing a packer using the real components to estimating speed from a drawing.
Reduce Cost Without Weakening Protection
The most useful savings usually come from simpler assembly, sensible material use and fewer unnecessary variations.
Keep the Outer Box Consistent Where It Fits
Using the same outer box for compatible products can consolidate purchasing while different inserts handle the internal layouts.
This works well when custom mailer boxes can hold several product combinations without excessive empty space. Forcing every product into one oversized box can add material, storage and freight costs.
Simplify the Assembly and Decoration
I look for self-locking structures, fewer separate parts and folds a packer can understand quickly. A pre-glued insert may cost more to supply but reduce work at the warehouse.
Print only where it adds value. A clean kraft insert may suit the product better than printed panels hidden beneath it. When presentation matters, coordinate the printing and finishes with the visible surfaces and contact points.
I would simplify decoration before reducing essential support around a heavy or fragile item.

Spend More Where the Risk Justifies It
Extra cushioning, stronger supports or more demanding testing can be worthwhile when the product is vulnerable, replacements are expensive or the distribution journey creates greater handling exposure.
Retail price alone does not settle the material choice. I want the additional spend to solve a protection, usability or presentation need that matters to that product.
Get Help Choosing Your Packaging Inserts
An accurate recommendation starts with the products and the box they need to fit.
Send:
If you have not chosen a material, send the product details first. We can assess the structure, fit and cost together.
Get a quote and talk to a packaging expert about an insert that protects your products, presents them clearly and works for the people packing each order.