Skip to content
Details

Custom Eyelash Boxes

Neat packaging for strip lashes, magnetic sets and reusable trays, with clear product viewing, accurate fibre clearance and easy style identification.

Free Design Support

Clear Pricing

Flexible Quantities

Unlimited Customization

Premium Materials

Offset Precision

Free Shipping

Quick Turnaround

Custom Eyelash Boxes That Protect the Lash Curve

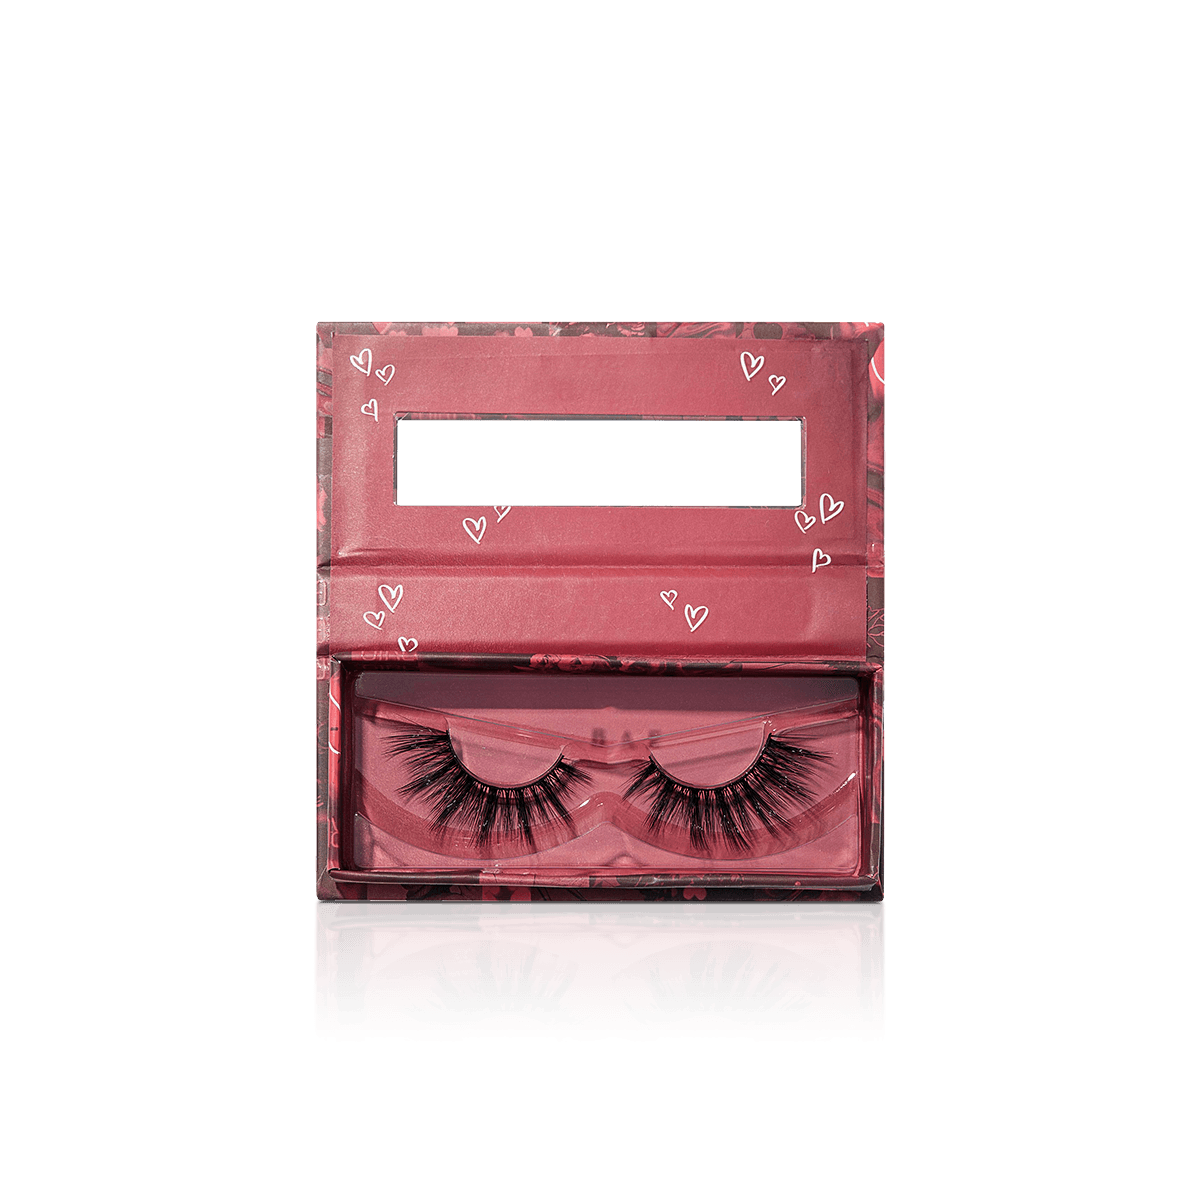
Custom Eyelash Boxes should protect the curve, fibres and lash band while giving customers a clear view of the style. The outer box matters, but the lash tray controls most of the fit. If the tray shifts or sits too close to the lid, delicate tips can press against the top panel and the pair may no longer look even.

Start with the finished tray and the lashes already placed on it. Measure the full tray length, width and depth, then check the highest point of the fibres. Natural, wispy, cat-eye and dramatic styles may share one tray size, but their curl and volume can need different top clearance.
Start With the Lash Tray

The lash tray should be confirmed before the outer dimensions. Ordering Custom Eyelash Boxes from lash length alone can leave too much space around the tray or bring the lid too close to the fibres.

Check the complete tray edge

Measure the tray at its widest and longest points, including finger tabs, raised edges and curved fronts. A square tray and a rounded tray may need different clearances even when both hold the same lash length.

Leave room above the fibres

Dramatic and multi-layer lashes can rise above the tray rim. Check the peak height at the centre and outer edge. Cat-eye styles may rise more at one side, so one centre measurement may miss the highest point.

The lid, window and inner panel should not flatten the curl or lift the lash band from the tray.

Show the Lash Style Clearly

Customers often choose false lashes by shape, length and volume. Custom Eyelash Boxes should help them judge the pair before opening it while keeping the style name and product details easy to read.

Place the window around the lash arc

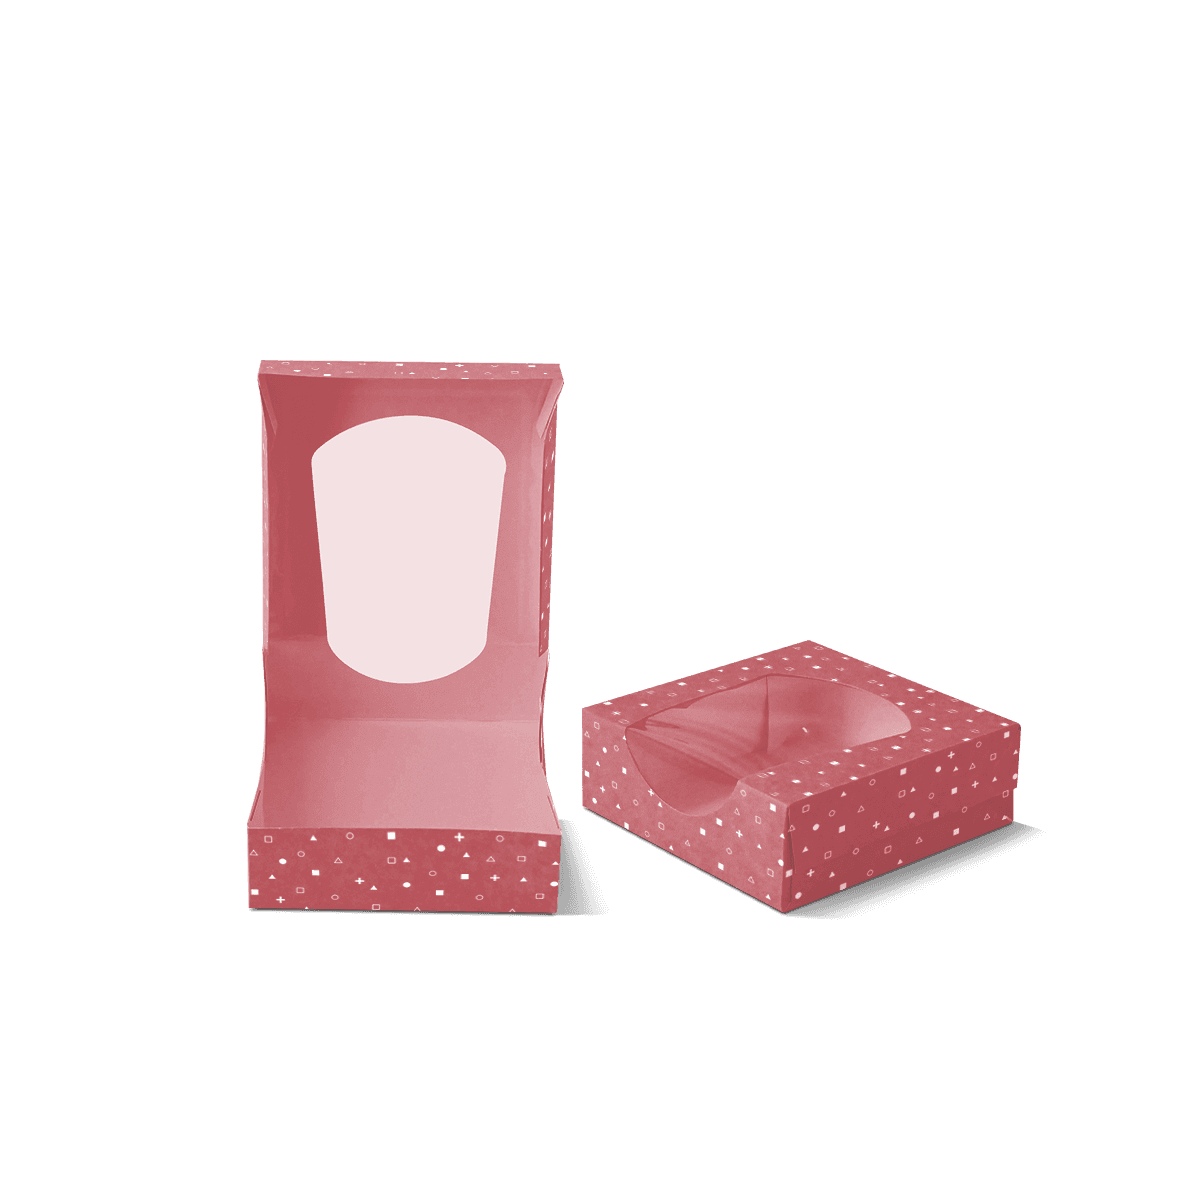
A window can reveal the full pair, the outer flare or the centre volume. Its position should follow the lash arc and tray placement rather than using a generic opening.

The window edge must stay clear of the fibres. Normal movement during packing should not let the lash tips catch against the cut-out or window surface.

Balance the view with branding

A very large window can leave little room for the logo, style name and wear information. A smaller opening may frame the lashes more neatly and give the printed panels a stronger role.

Custom Window Carton Boxes suit lash ranges that need product visibility with a compact paperboard carton.

Keep the tray facing forward

A clear front loses value when the tray can rotate or slide. Folded tabs, close dimensions or internal stops can keep the tray centred, especially when a cat-eye flare or printed tray must remain visible.

Choose an Opening That Suits the Product

Custom Eyelash Boxes can use a simple tuck closure, a pull-out tray or a deeper presentation box. The opening should suit how the customer removes, stores and reuses the lashes.

Tuck cartons for single pairs

Custom Folding Cartons and Tuck Boxes suit individual pairs and compact retail lines. They store flat before packing and provide useful space for branding, instructions and care details.

The depth must follow the tray and fibre height. Accurate creases also matter because a shallow carton can twist when the panels do not sit square.

Pull-out trays for a slower reveal

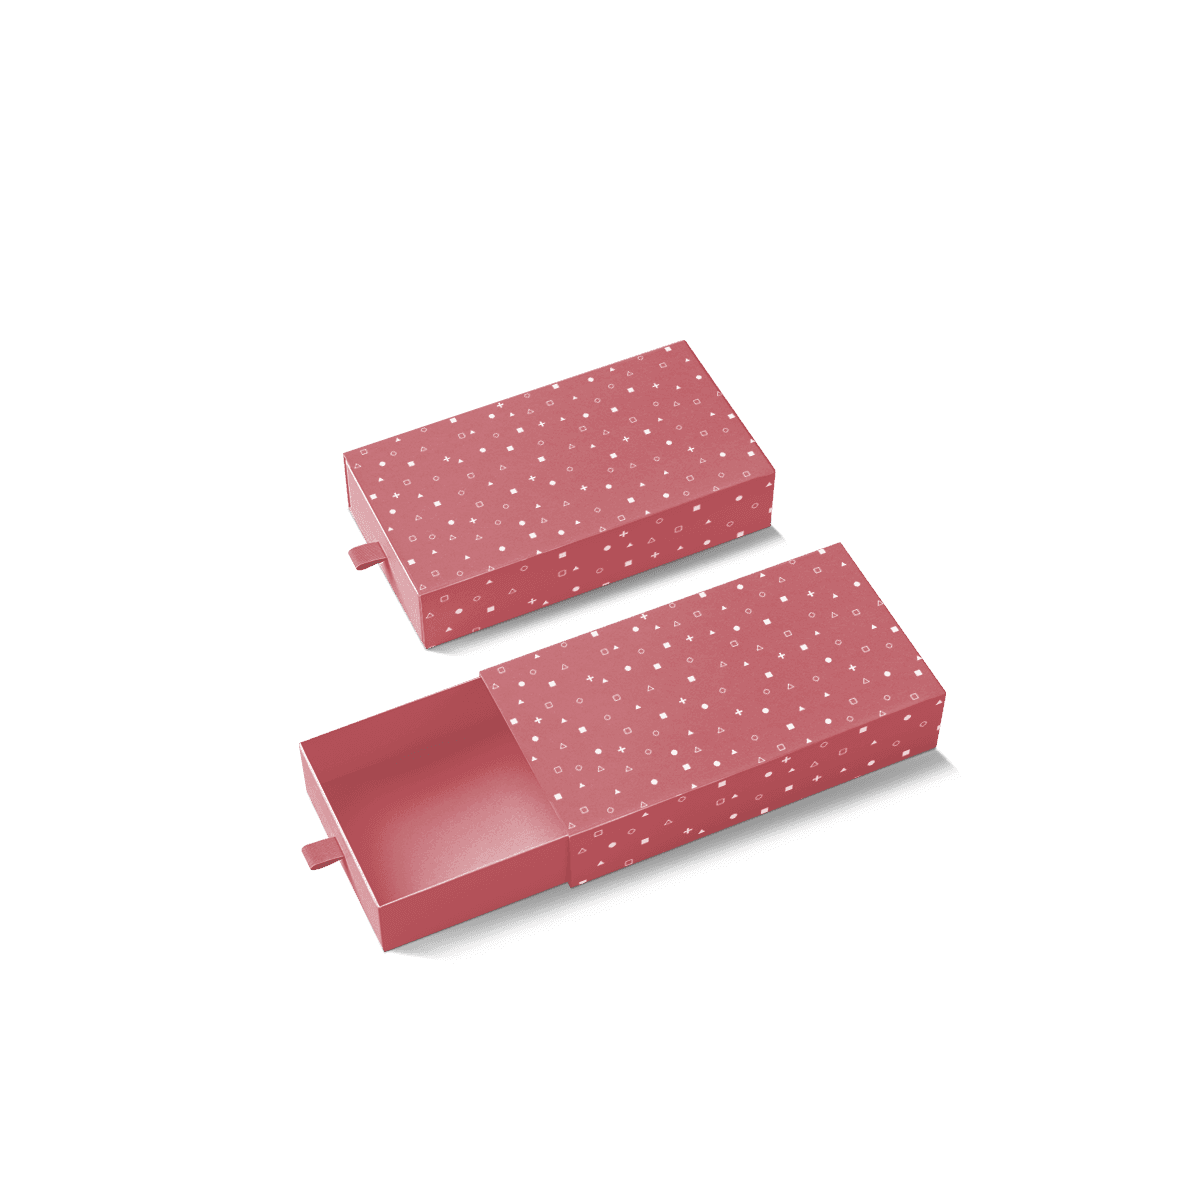
A tray-and-sleeve arrangement can suit reusable lash cases, premium single pairs and small duos. The tray should slide smoothly without feeling loose, while a thumb notch or pull tab makes opening easier.

Deeper boxes for lash kits

A deeper box can hold several pairs, adhesive, liner or an applicator. Each item should have its own place so smaller pieces do not move under the lash trays.

Keep Each Pair Secure

The inner tray should preserve the lash arc while the outer box stops the tray from moving. Extra inserts are useful only when they solve a clear packing or presentation problem.

Single-pair packaging

For one pair, accurate dimensions and a well-fitted tray may provide enough support. Small folded tabs can control side movement without adding a separate insert.

Multi-pair collections

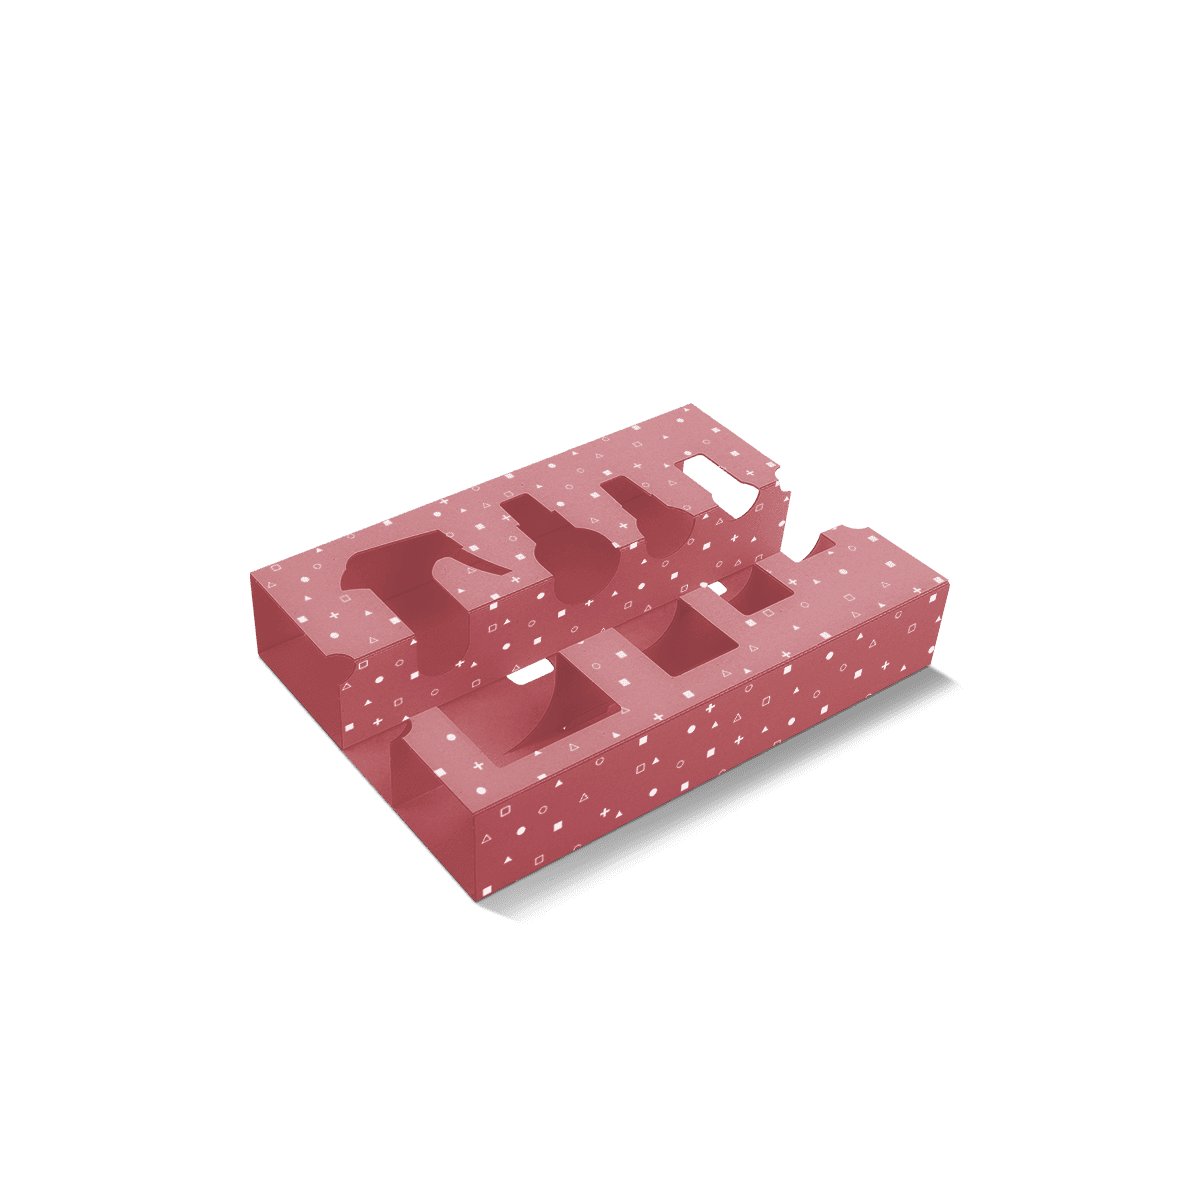
Two or more pairs need clear separation so the trays do not stack loosely or rub. A stepped paperboard insert can show each style while keeping the collection organised.

Print the style name beside each position. This helps customers return the correct pair after wear.

Magnetic lash kits

Magnetic lashes may come with liner or an applicator. Keep the metal tool away from the lash tray and give the liner a visible cavity rather than hiding it beneath the main product.

Make Every Lash Style Easy to Find

A growing range may include natural, wispy, doll-eye, cat-eye and dramatic lashes in several lengths and band types. Custom Eyelash Boxes need a simple system that helps customers, salon staff and fulfilment teams identify the right pair.

Fix the style name in one place

Keep the style name or number in the same position across every SKU. The front lower panel, top edge or side panel can work well depending on how the boxes sit on a shelf or in a drawer.

Use clear style cues

Colour bands, small icons or short descriptions can separate everyday, volume and occasion lashes. Avoid relying on decorative names alone when several pairs look similar through the window.

The wider Custom Beauty Packaging range can keep shared logo and colour rules while the lash family uses its own style codes.

Connect eye products without copying them

Lashes and eyeshadow may appear in the same campaign, but their packaging needs different information. Custom Eyeshadow Boxes focus on palette size, shade layout and compact protection. Custom Eyelash Boxes need more attention on curve, tray visibility and style identification.

A shared campaign colour or finish can connect both products without repeating the same front panel.

Print Around the Lashes

Eyelash packaging often has a shallow depth and a wide front. The artwork should frame the pair rather than compete with it.

Give the logo and style name space

Keep the brand mark clear of the window edge and tray curve. Fine scripts can work, but they need enough size and contrast to remain legible.

Use finishes on selected details

Foil can highlight a logo or style name. Spot UV can add shine to a small pattern while the surrounding surface remains matte. Embossing can give a simple mark more depth.

Holographic effects may suit trend-led ranges, but they should not obscure the style name. Customisation can help align the print, coating and window with the artwork.

Check the cut-out before approval

Window openings change the available print area and can interrupt borders or patterns. Keep key text away from the cut line and allow for normal production movement.

A 3D mock-up is usually enough to review artwork and tray position. A physical fit check is more useful when fibres sit close to the lid or a pull-out tray needs tight control.

Prepare Custom Eyelash Boxes for Each Sales Channel

Retail shelves need clear style names, stable stacking and a front that stays aligned. Salon drawers need compact boxes that are quick to identify. Online orders need outer protection so shallow cartons and windows do not arrive crushed.

Custom Eyelash Boxes are the retail layer, not the shipping carton. Place them inside a suitable mailer with support around the corners and window area. When several styles ship together, stop the boxes from moving freely against one another.

For peg displays, plan the hanging area before the artwork is complete. For counter trays, keep the style name visible above the display edge so staff do not need to lift every box.

Arrange Sets and PR Packs with Purpose

Launch kits may combine several lash styles, an applicator, adhesive and a campaign card. Arrange the pairs in a useful order, such as natural to dramatic or short to long.

Keep accessories beside the lashes rather than underneath them.

For reusable PR packs, add finger space and print the style name beside each tray. Permanent Custom Eyelash Boxes can stay consistent while the outer campaign box carries seasonal artwork.

A Four-Style Lash Range

Consider a collection with Natural, Wispy, Cat-Eye and Dramatic pairs. All four use the same tray length and width, but the Dramatic pair has greater fibre height and the Cat-Eye pair rises more at the outer edge.

One outer dieline may still work when the depth clears the highest style. The window can follow the shared lash arc, while a fixed name position and colour block separate the four SKUs.

Check the Dramatic pair against the lid and keep the Cat-Eye tray centred so the outer flare remains visible. This keeps the range consistent without assuming every lash sits in the same way.

Manage New Styles and Repeat Runs

Lash brands often add limited styles, collaborations and seasonal collections. Clear records make these changes easier to manage.

MOQ starts from 50 for a first release or short campaign. Custom Packly can also produce thousands, tens of thousands and larger repeat runs as the range grows.

Keep the approved dieline, window position, tray size, colour references and finish notes for each box. When a new style uses the same tray, confirm the fibre height before reusing the outer dimensions.

For reorders, list quantities by style and note changed names, barcodes or artwork. This reduces the risk of an old SKU detail returning in a later run.

Quote the Tray, Pair Count and Accessories

A useful quote for Custom Eyelash Boxes needs the tray measurements with the lashes fitted. Lash length alone does not show the required depth or window position.

Share:

  • Tray length, width and depth
  • Highest fibre point
  • Number of pairs in each box
  • Lash styles and quantity by SKU
  • Window size and preferred opening
  • Applicator, adhesive or liner dimensions
  • Print coverage and finish ideas
  • Artwork and barcode status
  • Retail, salon, online or PR use
  • Launch date and reorder plans

Custom Packly can review the outer size, tray movement, fibre clearance and print layout together. Send the tray details, quantities and artwork status through Get a Quote to plan Custom Eyelash Boxes around the real product.

FAQs About Custom Eyelash Boxes

Use the finished tray dimensions and fibre height. Lash length alone is not enough.

Yes, when the tray stays centred and the fibres remain clear of the opening.

Usually. The liner and applicator should not move against the lash tray.

Yes, when the trays match and the deepest style has safe top clearance.

Process

How it works

Simple steps from idea to delivery

01

Tell Us Your Specs

Custom packaging boxes

Tell Us Your Specs

Provide size, quantity, printing, and finishes.

02

Get a Fast Quote

Custom packaging boxes

Get a Fast Quote

Instant transparent pricing, no hidden fees.

03

Design and Approval

Custom packaging boxes

Design and Approval

Artwork checks, revisions, and final sign-off.

04

Produce

Custom packaging boxes

Produce

Expert manufacturing to meet deadlines.

05

Ship to Your Door

Custom packaging boxes

Ship to Your Door

Hassle-free, flexible delivery options.

Start Your Custom Packaging Quote

Share your product details, dimensions, quantity and artwork needs. We’ll help choose the right packaging style and send a clear quote.