Custom Cable Boxes
Keep charging, HDMI, audio and data cables neatly coiled with boxes that protect connector ends, show length clearly and suit peg, shelf or online use.
Free Design Support
Clear Pricing
Flexible Quantities
Unlimited Customization
Premium Materials
Offset Precision
Free Shipping
Quick Turnaround
Custom Cable Boxes for Charging, Data and AV Cables
Custom Cable Boxes should keep the cable in a controlled coil, protect both connector ends and make the exact cable type easy to identify before opening.
USB charging leads, HDMI cables, Ethernet cords and audio cables can look similar from a distance. The front panel therefore needs clear details about connector type, length and intended device use. The inner structure must also stop the cable from uncoiling or dropping to the base.
The wider Custom Electronics Packaging approach considers product fit, retail display and online delivery across complete tech lines. Cable packaging needs a more specific focus on loop size, plug shape, ties and the way the cable is placed into the carton.
Charging and data cables
USB-A, USB-C and other charging leads often suit compact cartons with a backing card, paper tie or folded cradle.
HDMI and display cables
Thicker AV cables need more room for the coil and larger connector heads. Their boxes should avoid pushing the connectors into sharp bends.
Audio and network leads
Audio, Ethernet and other data cables may use similar outer cartons while the artwork clearly separates length, connector type and intended use.
Start With Connector Type, Length and Coil Size
The correct box size starts with the cable as it will be prepared for filling. Measure the complete coil, not a straight cable laid on a table.
A one-metre lead may form a compact loop. A longer or thicker cable can create a much deeper coil. Braided outer jackets and fixed strain reliefs may also need more room than slim flexible cords.
Custom Cable Boxes should follow the approved coiling method used during production. The carton should not require staff to force the cable into a smaller loop simply to close the flaps.
Measure the filled coil
Record the coil length, width and depth with the tie or paper band fitted. Include any raised connector ends that sit outside the main loop.
Note cable stiffness
A firm braided cable may spring outward after loading. A softer lead may sit flat with little support. The insert and carton depth should reflect that behaviour.
Confirm the loading direction
Decide whether the cable sits flat, stands upright or hangs from a backing card. The opening and print layout should suit that position.
Hold the Coil Without Creating Sharp Bends
Custom Cable Boxes should control the cable without gripping it so tightly that the inner loop changes shape or the strain relief carries pressure.
A paper band can hold a light cable together. Folded tabs can restrain a thicker coil from two sides. A backing card can support both the loop and connector heads while presenting the item through a window.
Custom Inserts and Dividers can create paperboard rails, connector pockets and raised platforms for cable sets that need more control.
Use broad paper ties for simple leads
A printed or plain paper band can hold a small charging cable without adding a complex tray. The band width should keep the coil stable while allowing quick removal.
Add side stops for springy cables
Folded stops can prevent a braided cable from opening inside the box. They should touch the outer coil rather than press on a connector.
Give bundled cables separate spaces
A set with two or three leads needs dividers or labelled cavities. Loose coils can cross, hide connector ends and slow product checks.
Protect Plugs, Pins and Strain Reliefs
Connector ends need more care than the centre of the cable. Custom Cable Boxes should leave open space around metal plugs, raised pins and rigid strain relief sections.
Support the coil itself or the broader connector housing. Do not place a tight tab directly across the plug or force the cable to bend where it enters the connector.
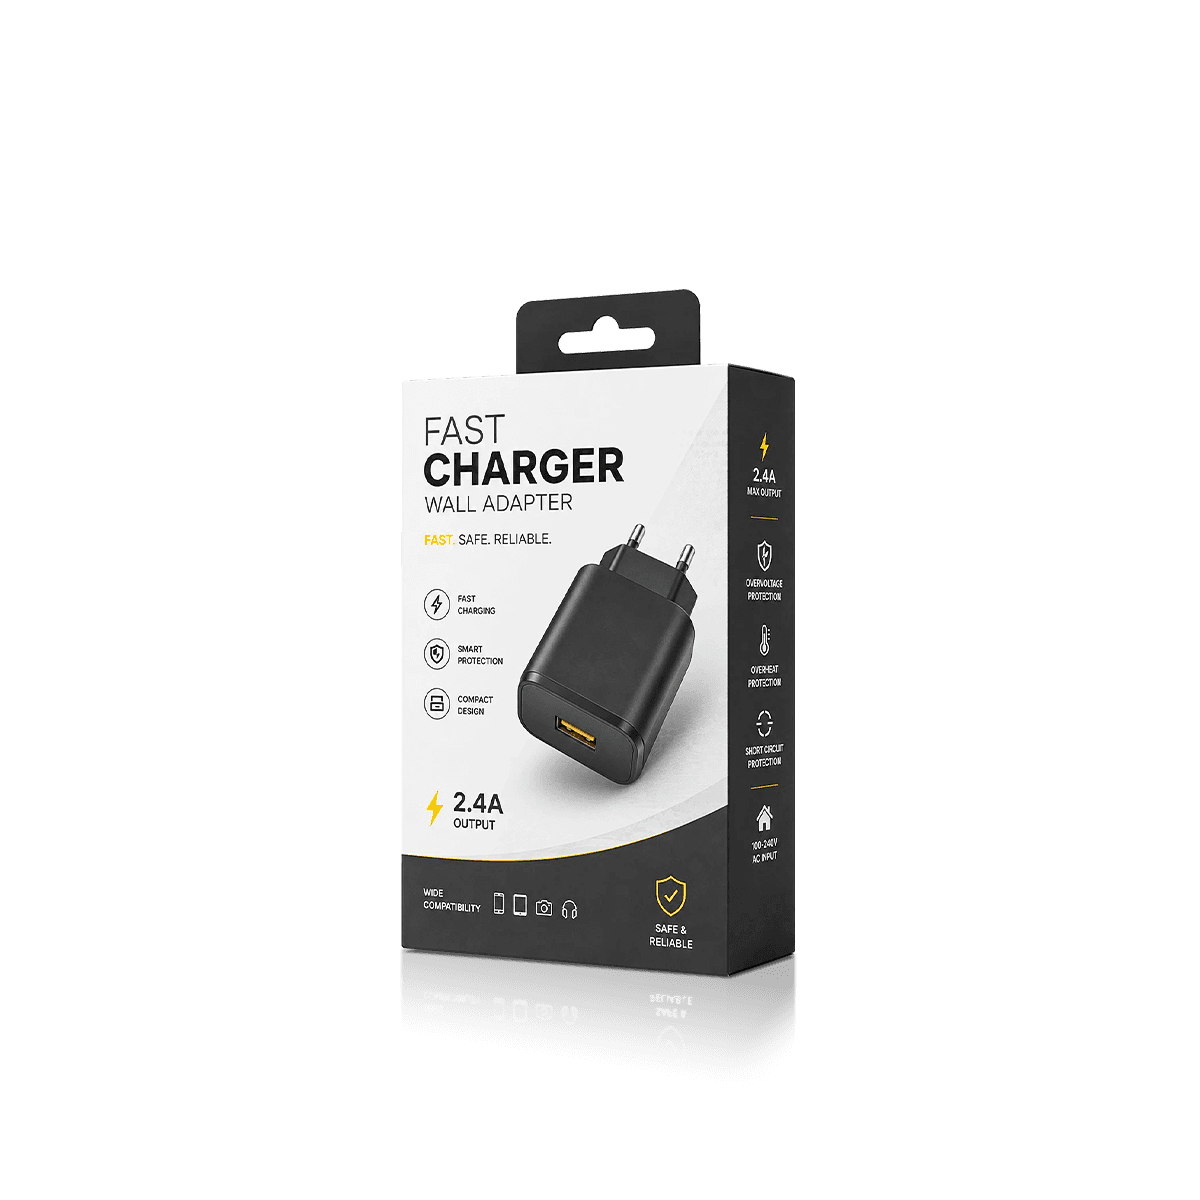
A charging set that includes an adapter may be better suited to Custom Charger Boxes, where the plug, cable and instructions receive separate spaces.
Keep connector ends visible
A clear connector view helps staff confirm the correct item before sealing. It also makes the opening easier for the customer to understand.
Separate adapters and converters
Small converters can mark the cable or disappear beneath the coil. A narrow side cell keeps them visible and stops movement.
Avoid pressure from the lid
Deep connector heads may sit above the coil. Check their highest point so the closed box does not push down on them.
Choose the Structure for Peg, Shelf or Counter Display
The retail position changes the structure. Custom Cable Boxes on peg walls need a firm top panel and a hang tab that stays straight under the real product weight.
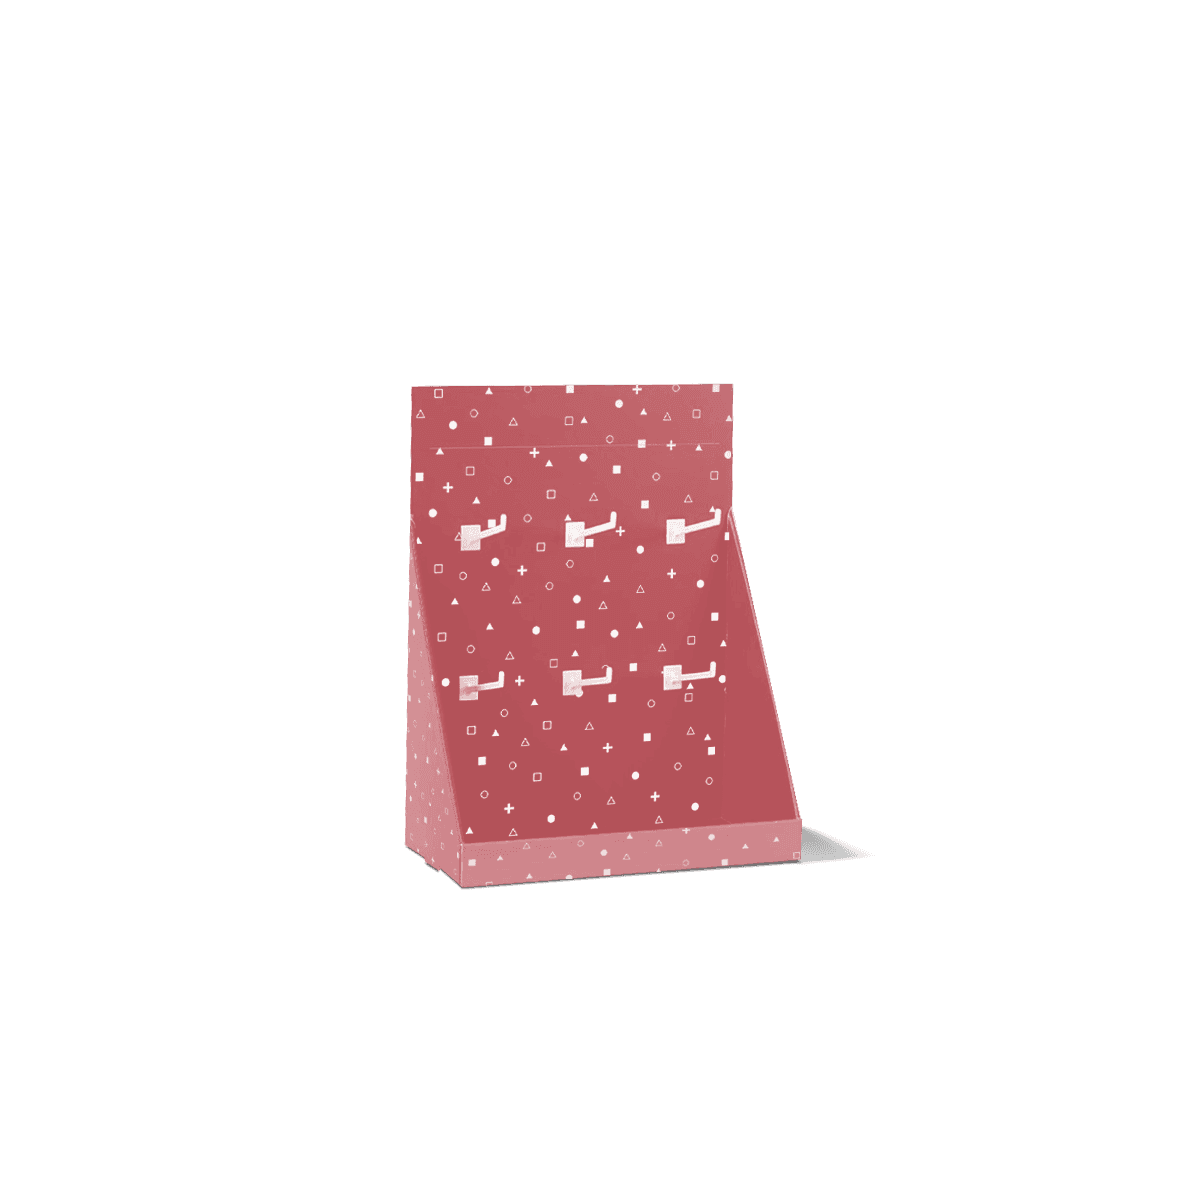
Shelf cartons need a stable base and clear top-panel details. Small cable boxes displayed at a counter may sit inside a printed tray that keeps connector types and lengths organised.
Custom Folding Cartons and Tuck Boxes suit many single-cable products because they store flat before filling and provide useful print space.
Hang-tab cartons for peg walls
The tab, hole and surrounding board should be tested with the filled box. A heavy cable can make a narrow top panel lean or tear.
Slim cartons for shelf display
A straight tuck or reverse tuck carton can suit cables that sit flat. The front and top panels can repeat the cable type and length for quick identification.
Display trays for small cable lines
Several boxed leads can sit inside Custom Display Boxes when stores need easy access without mixing cable versions.
Print the Details That Prevent the Wrong Purchase
Custom Cable Boxes need clear product information because the main differences are often technical rather than visual.
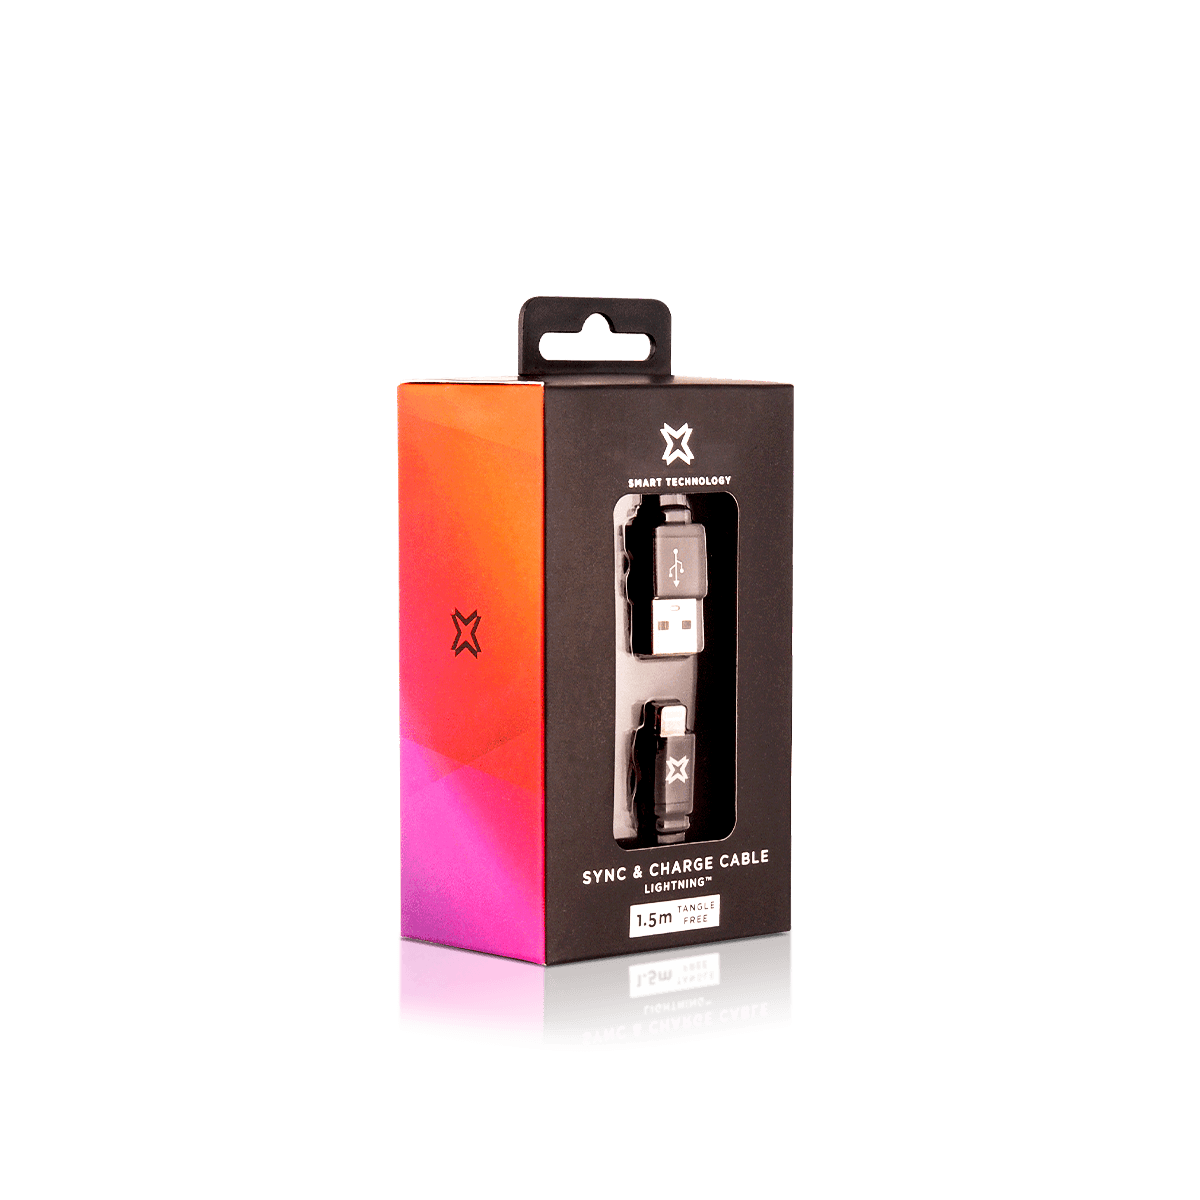
Place the connector pair and cable length on the main face. Add the intended use or device type where it helps the choice. Use the side or back for the contents list, model details, barcode and approved performance information.
Do not rely only on a cable image. Similar black or white leads can have different connectors, lengths or capabilities.
Show both connector ends
Use clear text or accurate illustrations to show the connector at each end. Avoid generic images that do not match the item inside.
Make length easy to scan
Place the cable length in a fixed position across the whole product line. This helps customers and retail staff separate similar cartons.
Print only approved technical claims
Speed, power and compatibility claims should come from confirmed product specifications. The artwork should not add an untested claim simply to fill a feature panel.
Custom Printed Boxes can keep colour, text hierarchy and product images consistent while each connector or length version remains distinct.
Match the Board and Finish to Everyday Handling
Paperboard suits many Custom Cable Boxes because the product is light and the carton needs clear print. The board thickness should still match the cable weight, box depth and display style.
White paperboard supports sharp colour and small text. Kraft board can suit a simple natural identity when the artwork is planned around the brown surface. Corrugated board is more useful for heavy cable sets, wholesale cases or the outer delivery layer.
Matte lamination can reduce glare and give dark artwork a calm finish. Gloss can brighten colours and product images. Spot UV or foil can highlight a logo, but connector type and length should remain the easiest details to read.
A window may show the actual cable jacket or plug. The backing card or insert must keep the visible section aligned with the cut-out.
Protect the Printed Box During Online Delivery
A cable may be durable, but the printed retail carton can still arrive crushed, scuffed or covered with courier labels.
Custom Cable Boxes sent one at a time often need a close postal outer. The outer box should limit movement without pressing on a window, peg tab or raised finish.
Several retail boxes can share one corrugated shipping case for trade deliveries. Dividers or layer pads can keep them upright and stop different cable versions from mixing during transport.
The retail carton and shipping outer should be tested together. A neat fit reduces movement and avoids using excessive loose fill.
Keep Lengths, Colours and Connectors Easy to Manage
One cable design may be sold in several lengths, colours and connector combinations. Custom Cable Boxes should share a clear brand system while each item stays easy to identify.
Keep the logo, product name and main image in fixed positions. Give connector type, length and colour their own artwork zones.
One outer size can sometimes support several cable lengths. This only works when the tie, backing card or insert controls each coil. A much longer cable may need a deeper carton even when the connector ends stay the same.
Separate artwork and structural changes
A new jacket colour may need revised print only. A longer or thicker cable may require a new coil size, insert or carton depth.
State quantity by each version
An order of 2,000 boxes may include several lengths and connector combinations. Give the amount for each artwork and box size so pricing reflects the real production split.
Keep file names clear
The approved artwork, dieline and loading image should use the same version name. This reduces the risk of placing a two-metre cable inside a carton printed as one metre.
Test Hand Loading and Customer Opening
Custom Cable Boxes should be quick to fill and simple to open. A structure that takes too long to load can create avoidable labour and inconsistent coiling.
Prepare the cable exactly as it will arrive at the packing table. Fit the tie, insert it into the box and close every flap. Repeat the process several times to see whether tabs catch on connectors or the cable rises into the lid.
Then open the sample as a customer would. The cable should lift out without the tie tearing the carton or the connector snagging on an insert.
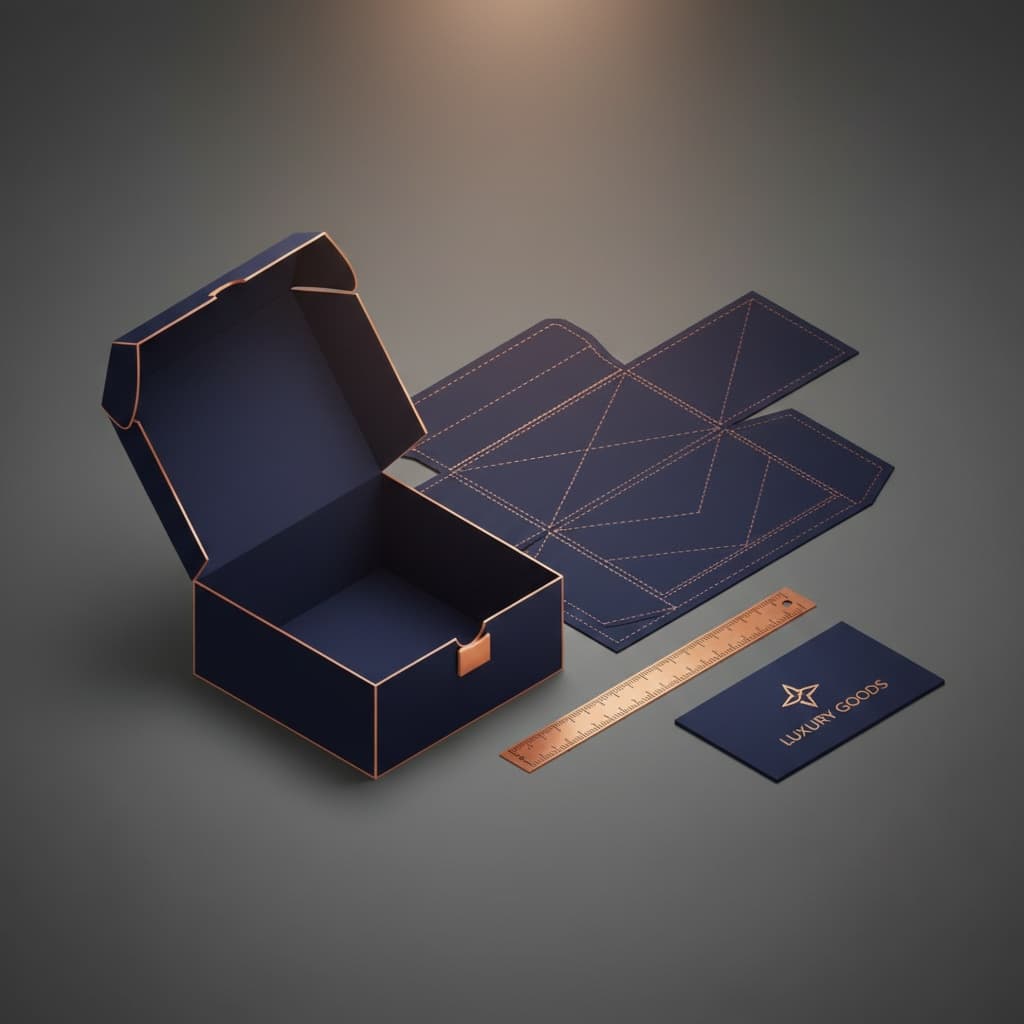
A 3D mockup can confirm artwork, folds and general size. A physical sample is more useful when the cable is thick, springy or displayed from a loaded hang tab.
Send the Prepared Coil for an Accurate Quote
The most useful quote details describe the cable as it will be placed inside the box. Send:
- Cable type and connector at each end
- Cable length and overall weight
- Prepared coil length, width and depth
- Cable tie or paper band size
- Strain relief and connector dimensions
- Quantity for each length, colour and connector version
- Peg, shelf, counter or online use
- Window, backing card or insert needs
- Preferred board, print and finish
- Artwork status and required date
Photos of the straight cable and prepared coil help show how the item should sit.
Send the project through Get a Quote so Custom Packly can price the carton, coil support and print versions around the actual product.
Related Packaging Styles
How it works
Simple steps from idea to delivery
Tell Us Your Specs

Tell Us Your Specs
Provide size, quantity, printing, and finishes.
Get a Fast Quote

Get a Fast Quote
Instant transparent pricing, no hidden fees.
Design and Approval

Design and Approval
Artwork checks, revisions, and final sign-off.
Produce

Produce
Expert manufacturing to meet deadlines.
Ship to Your Door

Ship to Your Door
Hassle-free, flexible delivery options.
Start Your Custom Packaging Quote
Share your product details, dimensions, quantity and artwork needs. We’ll help choose the right packaging style and send a clear quote.